Why a Move-In Inspection Matters
The gap between a signed lease and a returned security deposit is often bridged - or broken - by documentation. When you move out, landlords are generally permitted to deduct from your deposit only for damage beyond normal wear and tear. Without a detailed move-in record, proving that a stain, scratch, or broken fixture was already there when you arrived becomes your word against theirs.
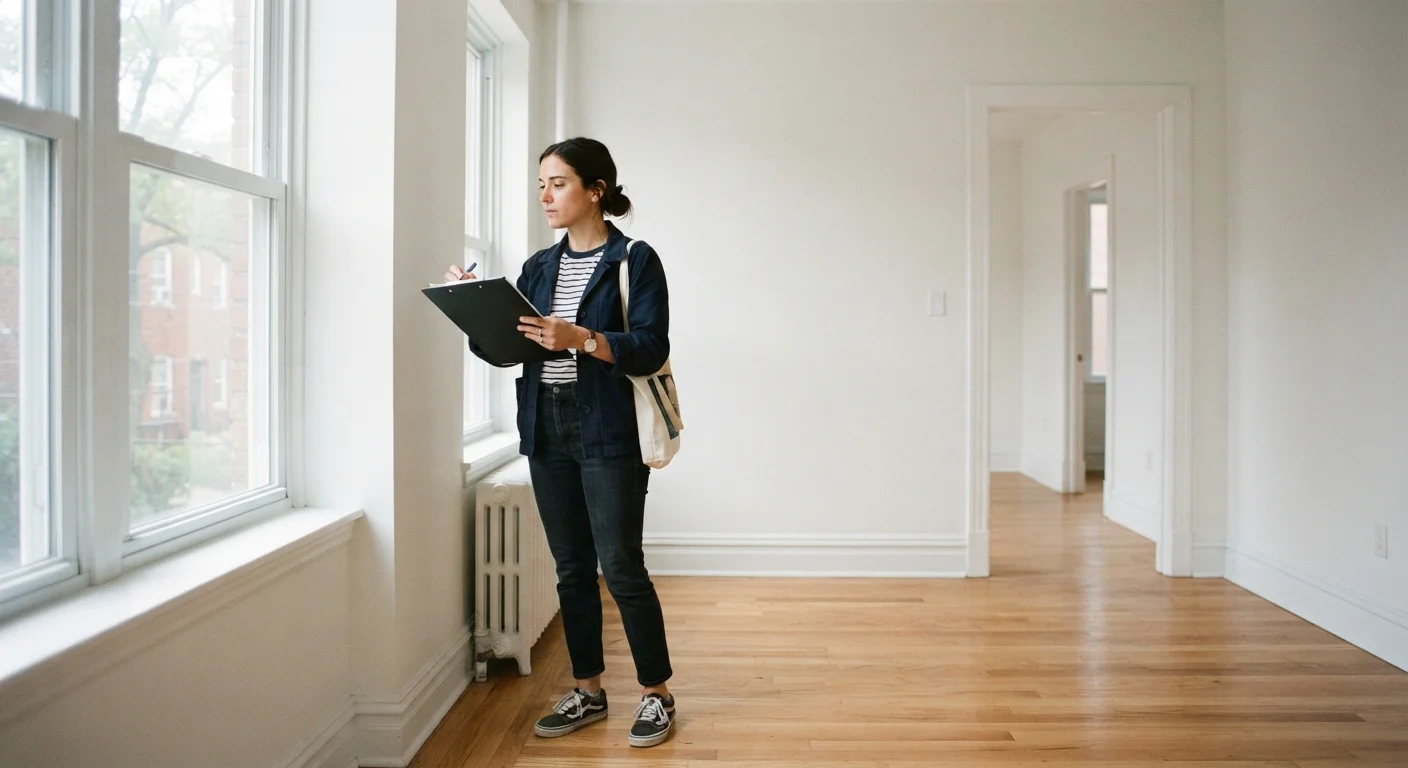
Before you start carrying boxes through the door, set aside one to two hours to work through this checklist. Bring your smartphone for photos and a written or digital notes app for observations. If the landlord or property manager provides an official move-in inspection form, use it alongside this checklist - not instead of it. For a deeper look at what landlords can legally keep from your deposit and how documentation affects those outcomes, see our guide on security deposit rules.
If you haven't yet reviewed your lease in detail, this is a good moment. Many lease clauses directly affect what counts as damage, who is responsible for repairs, and how disputes are handled. Our article on reading a lease before you sign walks through each section with plain-language explanations.
Do Not Unpack Before Inspecting
Once furniture, rugs, and boxes cover floors and walls, pre-existing damage becomes nearly impossible to distinguish from damage caused during move-in. Complete the full walk-through before placing a single item in the unit. Even setting down a heavy box can scratch a floor - document first.
What You'll Need
Gather these tools before you begin the walk-through so the process stays efficient.
Smartphone with camera
Capture timestamped photos and video of every room and pre-existing defect.
Landlord's move-in inspection form
Official document to record the unit's condition that both parties can sign.
Notepad or notes app
Record observations in precise, location-specific language to supplement photos.
Small plug-in device (phone charger or nightlight)
Test every electrical outlet quickly without special equipment.
Cloud storage account
Back up all inspection photos immediately so they cannot be lost or disputed.
Flashlight or phone torch
Inspect dark corners, cabinet interiors, and under-sink spaces for damage or pests.
The Full Move-In Checklist
Work through every room and area systematically. Use consistent language - "small nail hole, kitchen wall near window" is far more useful than "some holes." Once complete, send a copy to your landlord in writing and keep your own dated copy in a safe place.
Before You Enter
Walls, Floors, and Ceilings
Kitchen and Appliances
Bathrooms
Electrical, Heating, and Safety
Locks, Keys, and Access
Final Documentation Steps
Always Send Your Report in Writing
Verbal reports to a landlord carry little weight in a dispute. Send your completed inspection report - including a link to or attachment of your photo folder - via email so you have a dated, written record. Save the landlord's reply or acknowledgment in the same folder. This single step is the most effective protection against wrongful deposit deductions.
First-time renters may find this process unfamiliar. Our first-time renter's guide provides broader context for what to expect throughout the entire move-in experience. You may also want to cross-reference a room-by-room organization checklist once the inspection is complete and you're ready to settle in.