
Why Fluid Checks Matter for Every Driver
Modern vehicles rely on a network of fluids to lubricate moving parts, manage heat, transmit force, and maintain visibility. When any one of these drops too low or degrades, the consequences can range from reduced performance to catastrophic engine or brake failure. The good news: checking your vehicle's critical fluids requires no special training, costs nothing, and takes only a few minutes.
This guide covers the five fluids every driver should monitor regularly. For a broader look at keeping your vehicle road-ready, see our complete car maintenance overview. If you have a long drive coming up, pair this guide with our vehicle readiness checklist for added peace of mind.
What you will need
How to Check Each Fluid
Work through the checks below in order. Always park on level ground and - unless otherwise noted - let the engine cool for at least 10 minutes before opening any reservoir.
Check Engine Oil
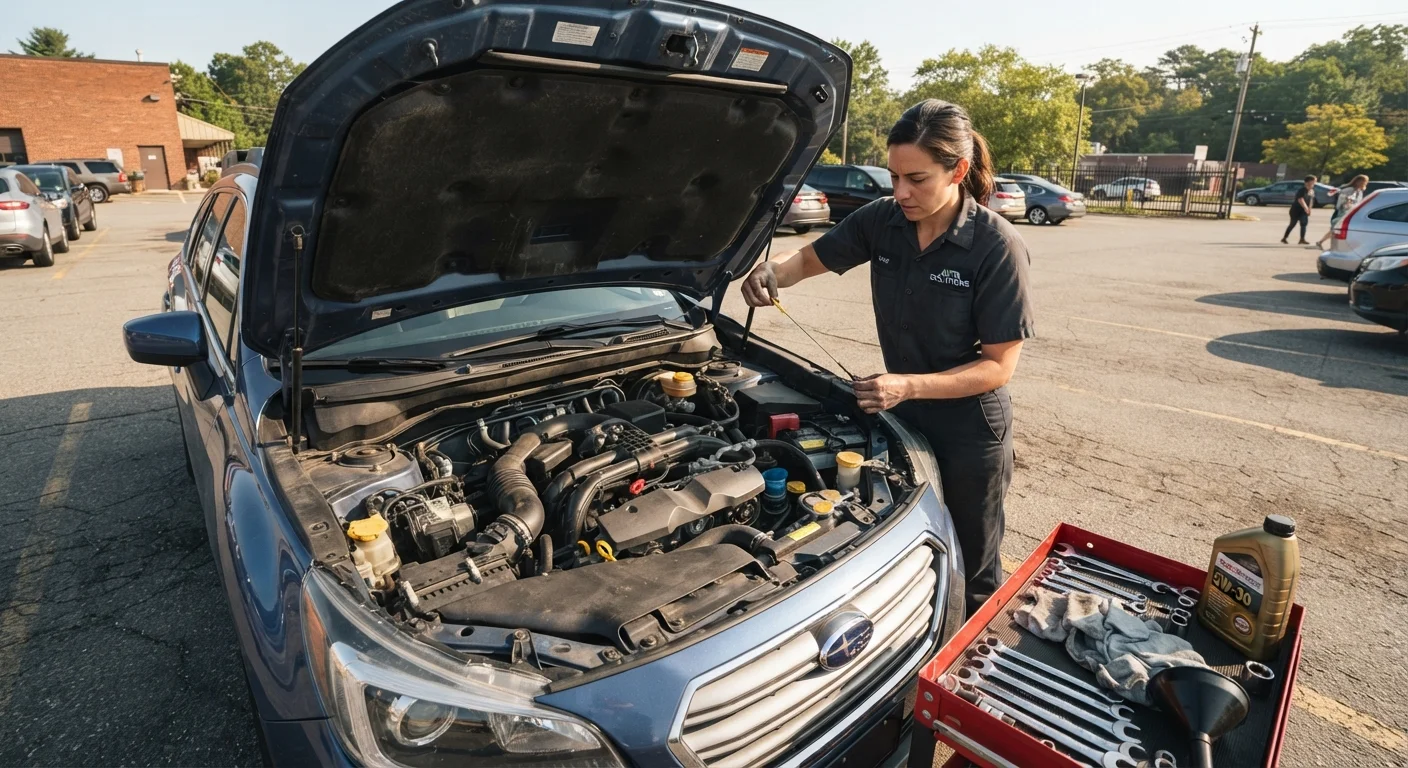
Open the hood and locate the oil dipstick - it typically has a brightly colored handle (yellow or orange). Pull it out, wipe it clean with a rag, reinsert it fully, then pull it out again. The oil level should fall between the two marks at the bottom of the dipstick. Also rub a small amount between your fingers: fresh oil is smooth and translucent; oil that's overdue for a change feels gritty or looks nearly black.
For guidance on change intervals and oil types, see our articles on how often to change your oil and conventional vs. synthetic oil.
Check Coolant (Antifreeze)
Locate the translucent coolant reservoir - usually marked with a thermometer or wave icon. You can read the level through the reservoir wall without opening it. The fluid should sit between the MIN and MAX lines. Check the color: it should be clear and bright (green, orange, or pink depending on your vehicle's coolant type). A murky or rusty appearance suggests the coolant may need to be flushed.
Check Brake Fluid
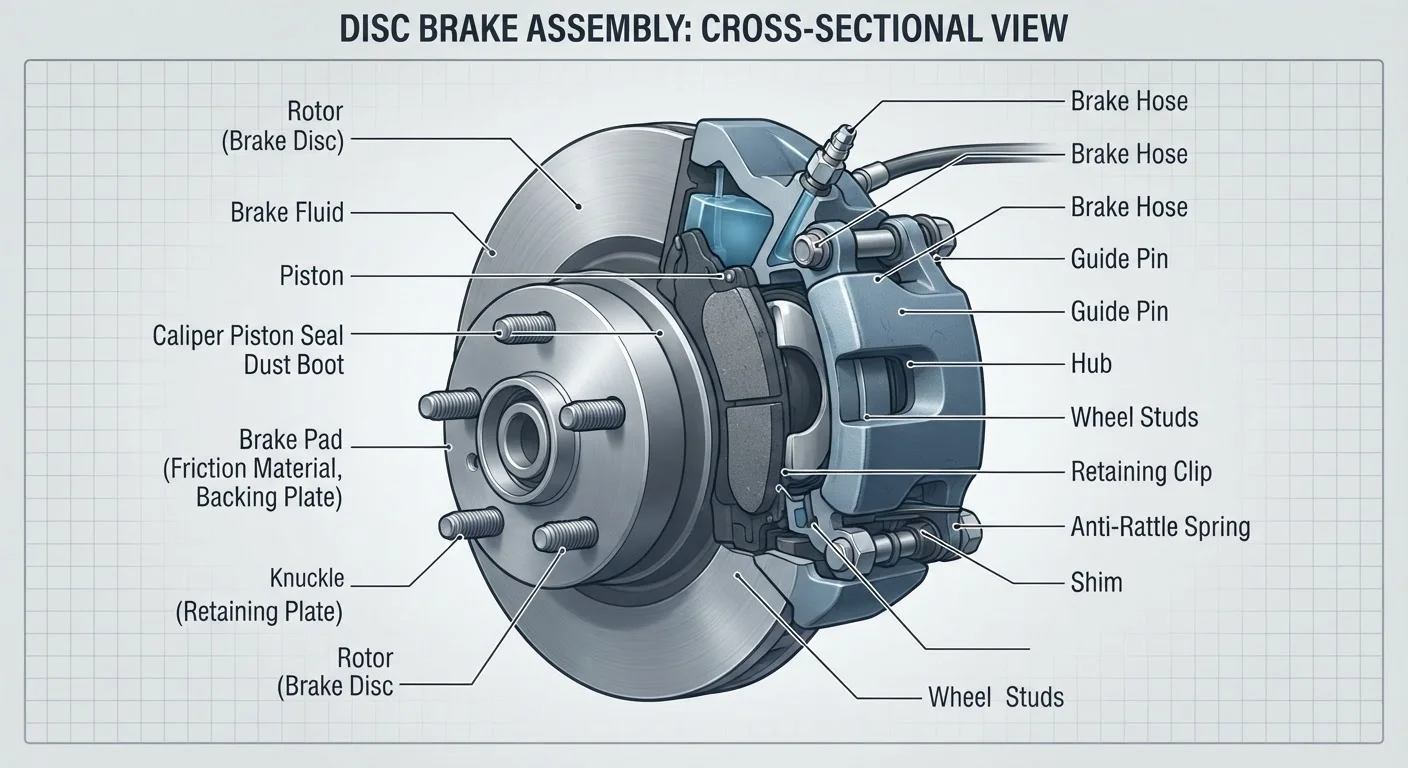
The brake fluid reservoir is typically located on top of the brake master cylinder near the firewall on the driver's side. It's a small, semi-transparent plastic container. Check that the level sits between MIN and MAX without opening the cap. Brake fluid should be clear to light yellow. Dark or brown fluid has absorbed moisture over time and should be flushed by a professional.
Check Power Steering Fluid
On vehicles with hydraulic power steering, locate the power steering reservoir (your owner's manual will show you exactly where). Many reservoirs are translucent and marked with MIN/MAX lines for both cold and hot readings. If your vehicle has electric power steering, there is no fluid reservoir to check - consult your owner's manual to confirm which system your car uses.
Check Windshield Washer Fluid
The windshield washer reservoir is the easiest check: locate the container marked with a windshield or wiper icon, remove the cap, and visually confirm the level. Top it off with the correct washer fluid for your climate - in cold regions, use a winter-rated formula that won't freeze in the lines. Do not substitute plain water, which can freeze, grow bacteria, and damage the pump.
Build a Quick Monthly Habit
Set a recurring reminder to run through these five checks on the first day of each month. Doing them together takes less than 15 minutes and gives you a running picture of your vehicle's health. Noting the results - even just a photo of each dipstick - helps you spot gradual changes before they become problems.
When a Reading Should Concern You
Low levels are only part of the story. Fluid condition matters just as much. Use the table below as a quick reference for what normal and abnormal looks like across your key fluids.
| Fluid | Normal appearance | Warning signs |
|---|---|---|
| Engine oil | Amber to light brown, translucent | Black, gritty, milky, or burnt smell |
| Coolant | Bright green, orange, or pink (varies by type) | Rusty, oily film, or muddy brown |
| Brake fluid | Clear to light yellow | Dark brown or black; any moisture |
| Power steering fluid | Clear, light pink, or amber | Dark brown, foamy, or burnt smell |
| Windshield washer | Tinted blue, green, or orange | Cloudy, separated, or empty |
If engine oil appears milky or coolant looks oily, this can indicate a blown head gasket - a serious mechanical issue that requires immediate professional diagnosis. For brake fluid concerns, our braking system guide explains how fluid condition connects to overall brake health.
Never Ignore a Sudden Drop in Fluid Level
If any fluid level drops noticeably between checks without an obvious explanation, treat it as a potential leak rather than normal consumption. Most healthy vehicles don't burn through fluids rapidly. A sudden or unexplained loss - especially in the brake or cooling systems - warrants a professional inspection before continued driving.