Why Pre-Trip Vehicle Checks Matter
A long road trip puts significantly more stress on a vehicle than a typical daily commute. Extended highway speeds, prolonged engine operation, and varied terrain - from mountain grades to desert heat - can amplify small mechanical issues into full breakdowns. The good news: the vast majority of roadside failures are preventable with a disciplined inspection before departure.
This checklist is designed for everyday drivers, not mechanics. Most of the checks require no special tools or expertise - just 30 to 60 minutes and a methodical approach. For a broader look at routine pre-drive habits, see our pre-drive safety check guide, which covers the basics applicable to every trip, not just long ones.
If your journey involves challenging conditions - such as desert heat - additional preparation is worth building in. Our desert destination prep checklist covers vehicle and personal safety considerations specific to arid climates.
Tools You'll Need
Before starting the inspection, gather the items listed below. Most are inexpensive and should be kept in your vehicle as standard equipment. Having the right tools on hand makes the process faster and more reliable.
Tire pressure gauge
Accurately measures tire PSI so you can inflate to the manufacturer's specified level before departure.
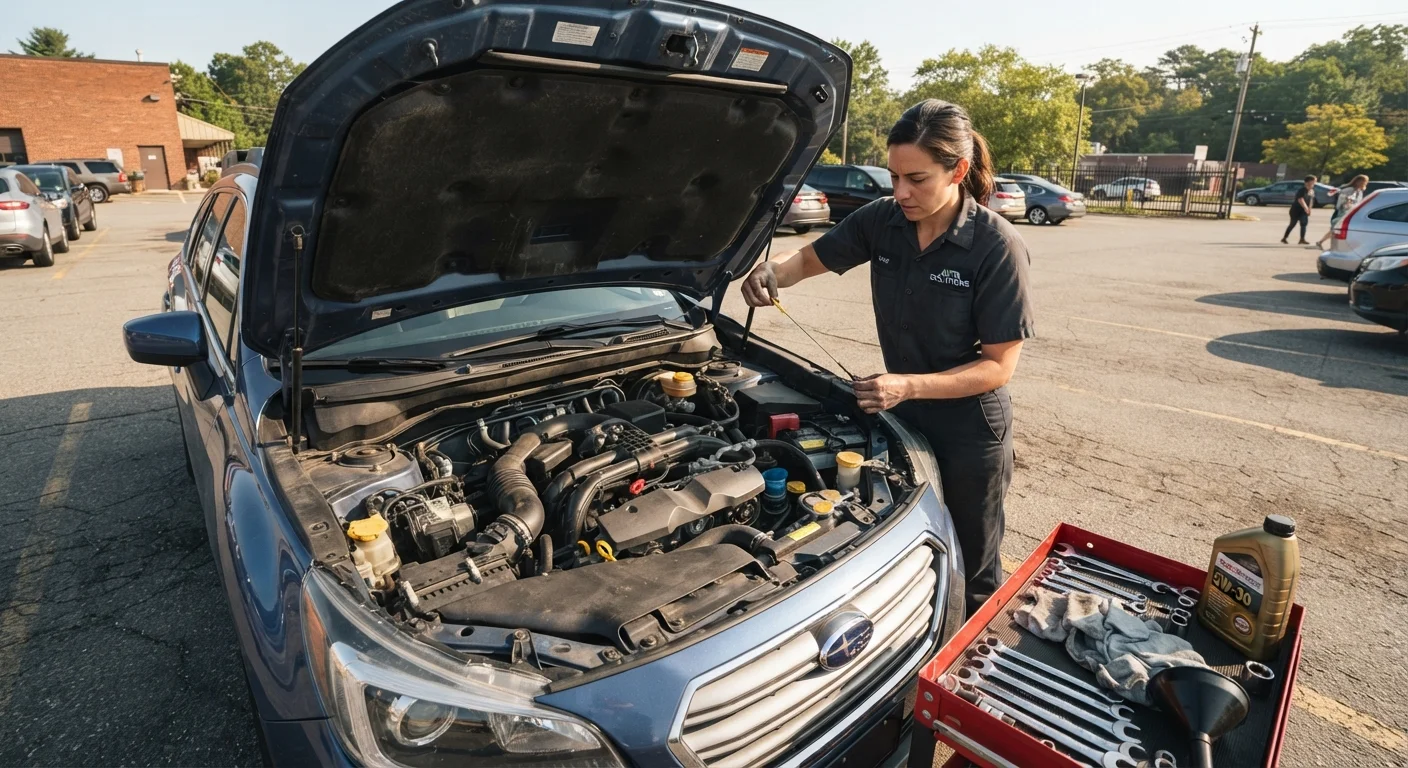
Engine oil dipstick (built into vehicle)
Used to check current oil level and assess whether a top-off or oil change is needed.
Tread depth gauge or quarter coin
Provides a quick field test to determine whether tire tread is within a safe range for highway driving.
Jump starter or jumper cables
Enables a battery restart without needing another vehicle if your battery fails on the road.
Portable phone charger / car charger
Keeps your phone powered for navigation and emergency communication during a long drive.
Flashlight
Allows you to safely inspect tires, fluids, and engine components in low-light conditions or at night.
How to Work Through the Checklist
Work through the six groups below in order - starting with tires and wheels, moving through fluid checks, lighting, brakes, under-hood components, and finally documents and emergency supplies. Completing items in sequence ensures you don't miss anything and allows you to catch related issues (for example, a low brake fluid level alongside soft brake feel).
Tires & Wheels
Fluids
Lights & Visibility
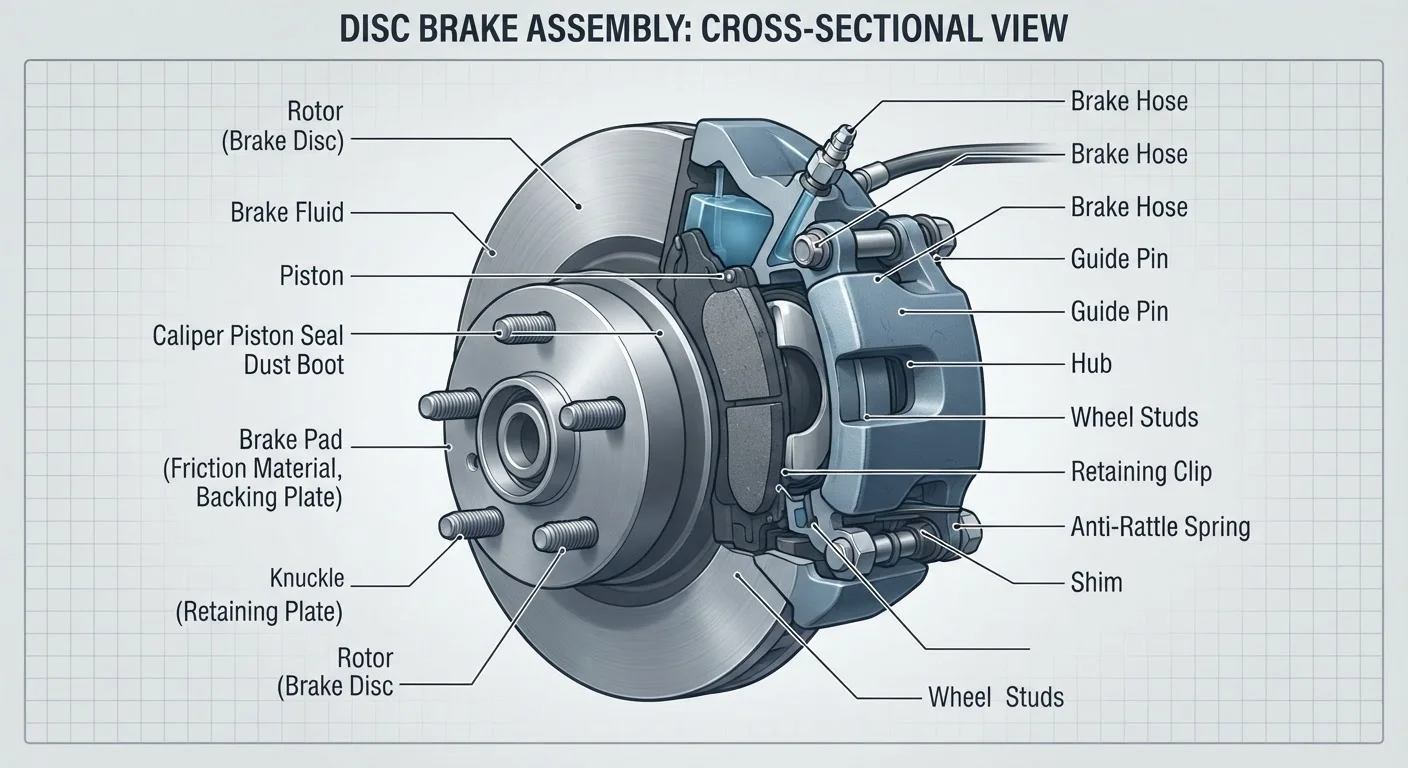
Brakes & Steering
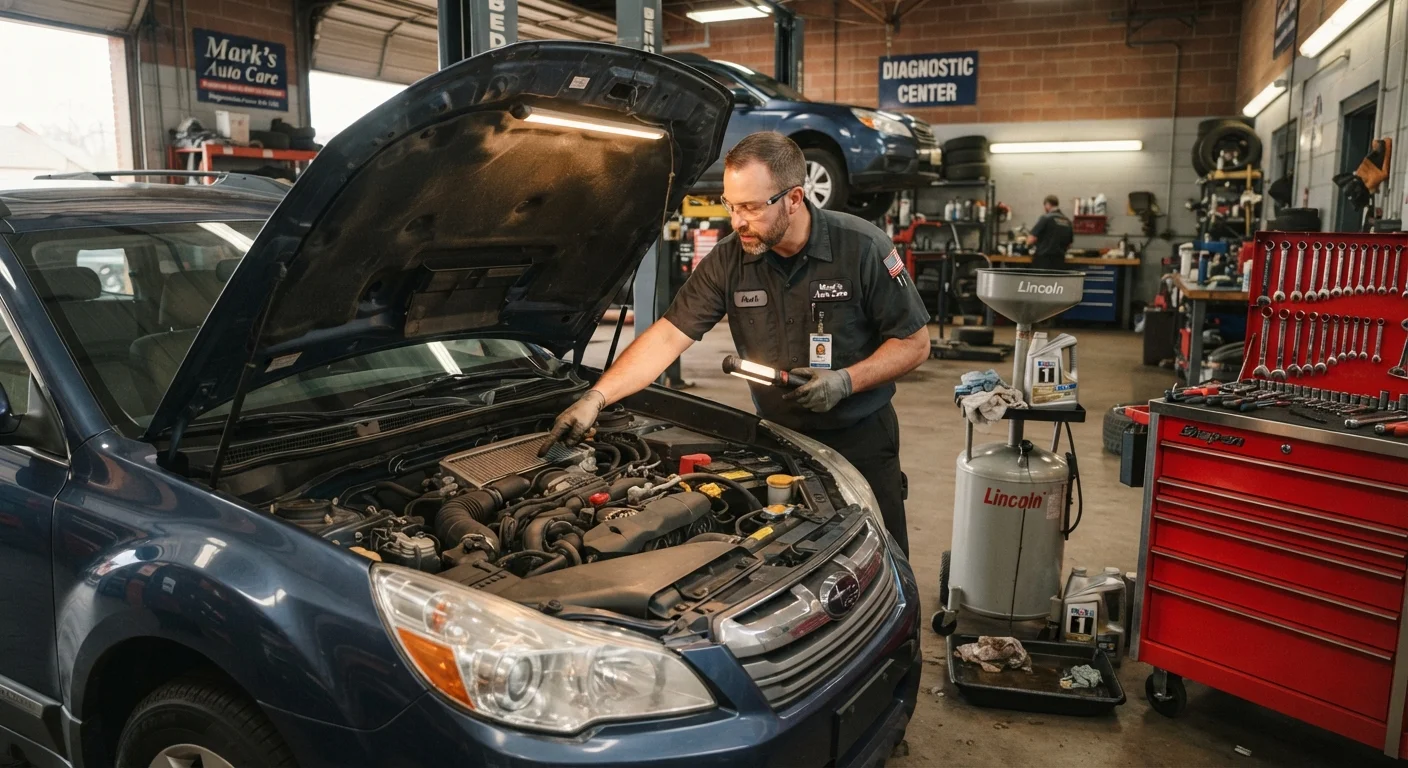
Under the Hood & Battery
Emergency Kit & Documents
For a deeper walkthrough of fluid inspection techniques - including what each fluid's color and texture reveals about your vehicle's health - refer to our fluid checks guide.
Don't Ignore Dashboard Warning Lights
A warning light - especially for the brake system, engine, or oil pressure - should never be dismissed before a highway trip. These indicators signal that a vehicle system needs attention, and driving hundreds of miles can worsen a minor issue into a major mechanical failure or a safety emergency. If any warning light is active, have a qualified mechanic evaluate the cause before departure.
Never Open a Hot Radiator Cap
Checking coolant when the engine is still hot can cause pressurized boiling fluid to spray out, resulting in serious burns. Always allow the engine to cool completely before removing the radiator cap or adding coolant to the reservoir. If you notice your temperature gauge rising while driving, pull over safely and allow the vehicle to cool before investigating.
When to Call a Mechanic Instead
This checklist helps you identify warning signs - it does not replace professional service. If any inspection step reveals a clear problem (active warning lights, brake abnormalities, visible belt damage, or severely worn tires), do not assume it is safe to proceed. Consult a qualified mechanic before your departure date.
Brake Concerns: Stop Before You Go
If your vehicle exhibits any braking abnormalities - grinding sounds, a soft or spongy pedal, pulling to one side, or vibration during stops - do not proceed with your trip. Brake failure on a highway is a life-threatening emergency. Have the brake system inspected by a certified mechanic before driving. This is not a task to defer or test further at highway speed.
Building vehicle inspection into your annual routine - not just before trips - is one of the most cost-effective habits a car owner can adopt. Our annual vehicle ownership audit walks through a broader yearly review of maintenance records, insurance, and ownership costs that complements this pre-trip checklist.
This article provides general vehicle maintenance information for educational purposes only. It is not a substitute for professional mechanical inspection or advice. Always consult a qualified mechanic for diagnosis, repair, or any concern about vehicle safety before operating your vehicle on public roads.