
Why a Pre-Trip Check Is Worth the Habit
Most vehicle breakdowns and many preventable crashes share a common thread: a small, detectable problem that went unnoticed. A tire slowly losing pressure. A cracked tail light. A windshield so fogged or dirty that visibility was compromised from the first mile. A brief check before you turn the key costs minutes - and can prevent situations that cost far more.
This checklist is designed for everyday drivers, not mechanics. No special tools are required for most items. The goal is to build a consistent routine so that issues get caught early, when they're still minor. Whether you're heading to work or loading up for a weekend away, the same fundamentals apply. For longer highway drives, see our vehicle readiness checklist for long road trips, which goes deeper on mechanical preparation.
Use this checklist as a starting point. Over time, the items will become second nature - and you'll likely catch at least one developing problem before it turns roadside.
Don't Skip Checks on Short Trips
Many drivers assume a quick errand doesn't warrant a safety check. In reality, a significant proportion of crashes occur within a few miles of the driver's home - often because familiarity creates complacency. Short trips are not lower-risk just because they're short. A flat tire, a brake issue, or a cracked windshield doesn't wait for the highway.
Tools and What You'll Need
Most of this checklist requires only your eyes, hands, and a few minutes. A small number of items benefit from simple, inexpensive tools you can keep in your glovebox or garage.
Tire Pressure Gauge
Measures exact PSI in each tire so you can inflate or deflate to the manufacturer's recommended level found on the driver's door jamb sticker.
Tread Depth Gauge
Gives a precise tread depth reading in 32nds of an inch - more reliable than the penny test for tracking gradual wear.
Flashlight or Headlamp
Useful for inspecting under the vehicle and checking hard-to-see areas during early morning or evening pre-trip checks.
Microfiber Cloth or Scraper
Removes frost, condensation, or debris from windows quickly so visibility is not compromised from the start of the drive.
The Complete Pre-Drive Checklist
Work through these checks systematically - exterior first, then interior, then a quick systems confirmation once the engine is running. The whole routine should take five to ten minutes under normal conditions.
Exterior Walk-Around
Interior and Controls
Systems Check After Starting
Emergency Readiness
Illuminated Warning Lights Are Not Optional
If a dashboard warning light is on when you start your vehicle, look it up before driving - not after. Some lights indicate conditions that are immediately unsafe, such as low brake fluid or a critical tire pressure drop. Driving with an unknown or ignored warning light is a risk that can escalate quickly and unpredictably. Consult your owner's manual or a qualified mechanic if you are unsure what a symbol means.
For a deeper look at what your dashboard indicators are communicating, our guide on car warning lights and what they mean covers every major symbol and recommended response. And if you're due for a broader review of your vehicle's upkeep and ownership costs, the annual vehicle ownership audit is a logical next step.
Building the Routine Over Time
The first few times you run through this checklist, it may feel slow. That's normal. After a week or two of consistent practice, most drivers complete their walk-around in under five minutes without consulting any list at all - because the sequence becomes automatic.
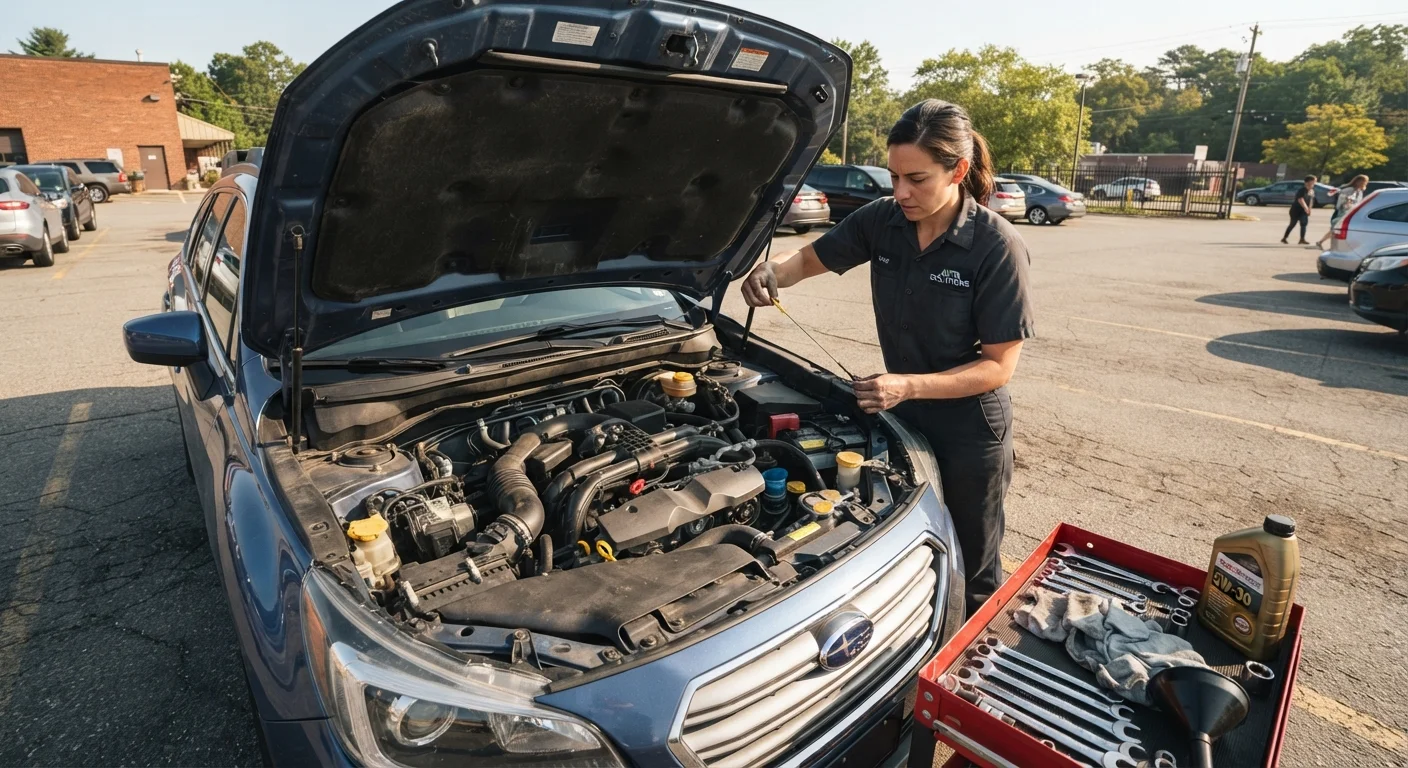
A few habits that support consistency: always start your exterior check at the same point (most drivers begin at the driver's front corner and walk clockwise), check fluids on a schedule rather than waiting for a warning light, and keep your tire pressure gauge in the same spot so it's always accessible. Our guide to fluid checks every driver should know explains what to look for under the hood and how to interpret what you find.
Tire condition deserves particular attention because it changes gradually - pressure drops a little each week, tread wears unevenly over thousands of miles. Understanding the difference between rotation, balancing, and alignment (three services drivers frequently confuse) is also worth your time. Our explainer on tire rotation, balancing, and alignment breaks down what each service actually addresses.
Finally, don't overlook yourself as part of the safety equation. Fatigued driving impairs reaction time in ways that parallel alcohol impairment. Before any significant drive, check in with your own alertness. Our overview of driver fatigue warning signs can help you recognize when you're not fit to drive - and what to do about it.