Why Surface Prep Determines Your Results
Most paint failures - peeling, bubbling, visible cracks, or uneven color - trace back to inadequate surface preparation, not the paint itself. Before you open a single can, the wall needs to be clean, dry, and structurally sound.
Start by washing walls with a mild detergent solution to remove grease, dust, and the invisible oils that hands and everyday life leave behind. Pay extra attention to kitchens and bathrooms where airborne grease or steam accumulates on surfaces. Let walls dry completely - at least 24 hours - before continuing.
Next, inspect the surface carefully. Fill nail holes and small dents with lightweight spackling compound, pressing it slightly proud of the surface, then sand flush once dry. For hairline cracks, flexible paintable caulk often outperforms spackle because it can move slightly with the wall. Sand any glossy areas or old brush marks lightly with 120-150 grit sandpaper so the new primer has a mechanical texture to grip.
Don't Skip the Wall Wash
Even walls that look clean often have a thin film of dust, cooking grease, or residue from cleaning products. Painting over this layer reduces adhesion and can cause your finish to peel within months. A solution of warm water and a small amount of dish soap, followed by a clean water rinse, is usually all that's needed. Allow at least 24 hours of drying time before applying primer.
If you're new to home improvement projects generally, our guide for new homeowners covers the basic toolkit and mindset that applies here too.
Choosing and Applying the Right Primer
Primer does three things paint alone cannot reliably do: it seals porous or repaired surfaces so paint absorbs evenly, it blocks stains from bleeding through, and it gives paint a consistent surface to bond to. Skipping primer on bare drywall, fresh patches, or stain-prone areas almost always means more finish coats - and still inferior results.
Matching Primer to the Situation
For bare drywall or large patched areas, a PVA (polyvinyl acetate) drywall primer equalizes porosity between the paper face and joint compound. For smoke stains, water stains, or stubborn markers, a shellac-based or oil-based stain-blocking primer is far more effective than standard latex. For previously painted walls in good condition, a quality latex primer-sealer is usually sufficient. When in doubt, ask at your local paint counter - they can recommend based on your specific situation.
Matching primer to the situation: For bare drywall or large patched areas, a PVA (polyvinyl acetate) drywall primer equalizes the porosity between the paper face and the joint compound. For smoke stains, water stains, or stubborn markers, a shellac-based or oil-based stain-blocking primer is far more effective than a standard latex primer. For previously painted walls in good condition, a quality latex primer-sealer is usually sufficient.
Apply primer with the same tools you'll use for painting - a brush for edges and corners, a roller for the main field. One coat of the correct primer is usually enough. Allow it to cure fully per the manufacturer's instructions (typically two to four hours for latex, longer for oil-based), then lightly sand any raised grain with fine-grit paper (220 grit) and wipe away dust before painting.
Best Practices for Applying Finish Paint
With a prepped, primed surface, paint application becomes the straightforward part - but technique still matters.
Cut in edges before rolling the main wall surface
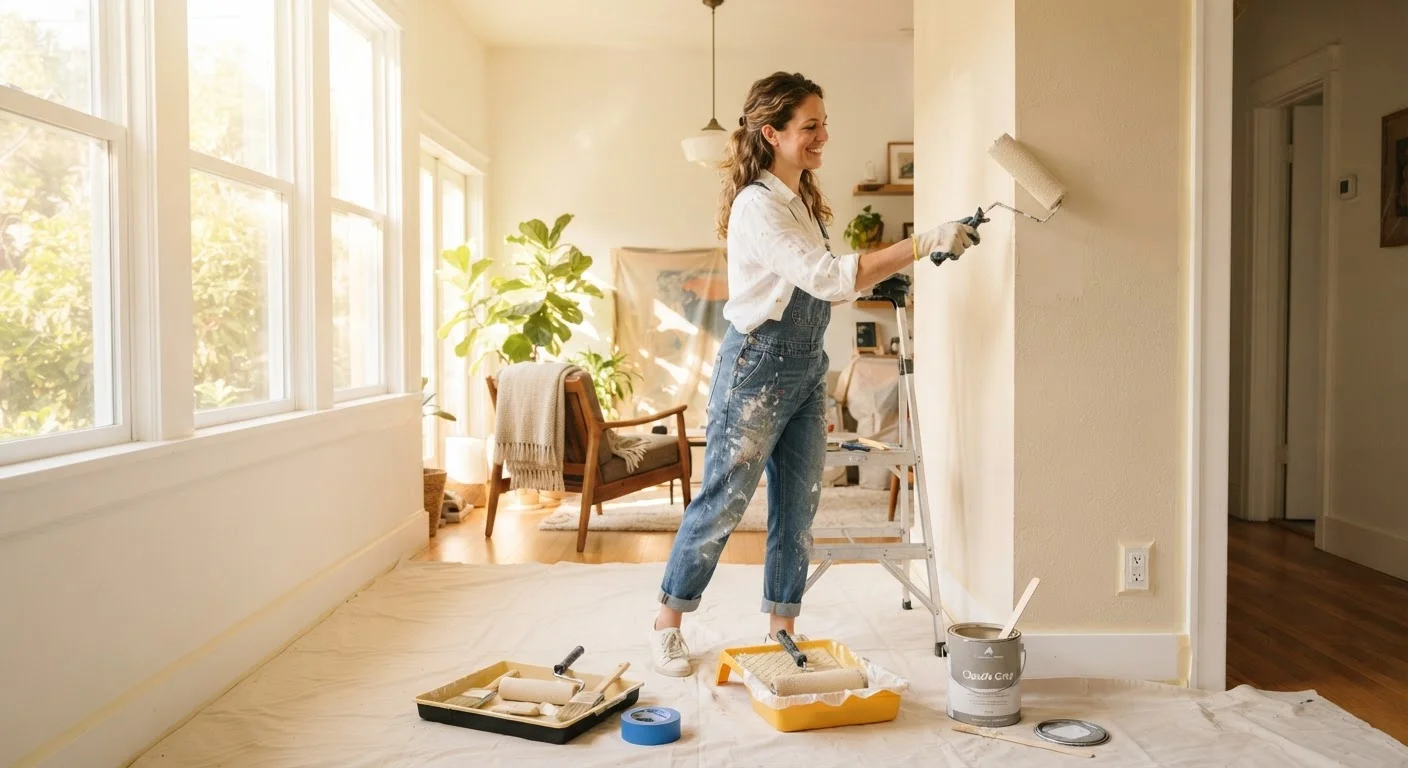
Cutting in first - brushing a 2-3 inch band along ceilings, trim, and corners - means the roller can blend into wet paint rather than dried brush strokes. This minimizes visible texture differences between brushed and rolled areas.
Apply two thin coats rather than one heavy coat
Thick coats take longer to dry, are more prone to drips and sags, and often cure unevenly. Two thinner coats build color more evenly, adhere better, and produce a harder, more durable finish.
Roll with consistent pressure using a 'W' or 'M' pattern
Random roller strokes leave lap marks and uneven texture. A structured W or M pattern distributes paint evenly across a section before you smooth it out with straight finishing strokes.
Mask everything you can't remove or paint carefully around
Painter's tape protects outlet covers, switch plates, window trim, and baseboards. Taking time to mask properly prevents time-consuming touch-up work and protects finished surfaces.
Maintain a wet edge throughout each coat
Painting onto already-dried sections creates visible overlap lines ('lap marks') that remain visible through subsequent coats. Keeping the edge of your work area wet requires working at a steady pace without stopping mid-wall.
Selecting the Right Sheen and Finishing Strong
Paint sheen affects both appearance and durability. Flat and matte finishes hide surface imperfections well and work well in low-traffic areas like bedrooms and ceilings. Eggshell and satin sheens offer a slight luster and are easier to wipe clean, making them a practical choice for living rooms, hallways, and children's rooms. Semi-gloss and gloss finishes are the most moisture-resistant and scrubbable, which is why they're standard for kitchens, bathrooms, and trim work.
Once your final coat is dry, remove painter's tape before the paint cures completely - usually within an hour or two of application - to get a clean edge without chipping. Pull the tape back at a low angle, away from the painted surface. Clean your brushes and rollers promptly with the appropriate solvent (water for latex, mineral spirits for oil-based paints).
Allow full cure time - which can range from several days to two weeks depending on the paint formula - before washing walls or placing furniture against them. The paint may feel dry to the touch long before it reaches full hardness.