Understanding Your Home's Core Systems
Before picking up a single tool, the most valuable thing a new homeowner can do is get acquainted with the systems running behind every wall and under every floor. Your home operates on four main systems: plumbing, electrical, HVAC (heating, ventilation, and air conditioning), and structural components. Understanding how each one works - even at a basic level - turns intimidating emergencies into manageable situations.
Start with a walkthrough. Locate your main water shut-off valve, your electrical panel (also called a breaker box), your furnace or air handler, and any gas shut-offs if your home uses natural gas. Label anything that isn't already clearly marked. This single step can prevent thousands of dollars in damage during a leak or electrical fault.
Keep a simple home systems binder - a folder or digital note - logging the age and service history of major appliances, HVAC filters, and water heaters. Most manufacturers publish maintenance schedules; following them extends equipment life considerably.
Electrical panel
The metal box (usually in a basement, garage, or utility closet) that distributes electricity throughout your home via circuit breakers. Each breaker controls power to a specific area or appliance and can be switched off for safety.
HVAC
Short for Heating, Ventilation, and Air Conditioning - the combined system that controls your home's temperature, humidity, and air quality. Regular filter changes are the single most important homeowner maintenance task for this system.
Load-bearing wall
A wall that carries structural weight from above and transfers it to the foundation. Removing or modifying one without engineering guidance can compromise your home's structural integrity.
Scope creep
The gradual expansion of a project beyond its original plan, often because unplanned issues are discovered mid-work. Budgeting extra time and money as a buffer helps manage this common home improvement reality.
Stud finder
A handheld device that locates the wooden framing members (studs) hidden inside your walls. Anchoring heavy items - shelves, TVs, cabinets - into studs rather than just drywall prevents them from pulling free.
Building permit
Official approval from your local government to carry out specific construction or renovation work. It triggers an inspection process that verifies the completed work meets safety codes.
Building Your Essential Toolkit
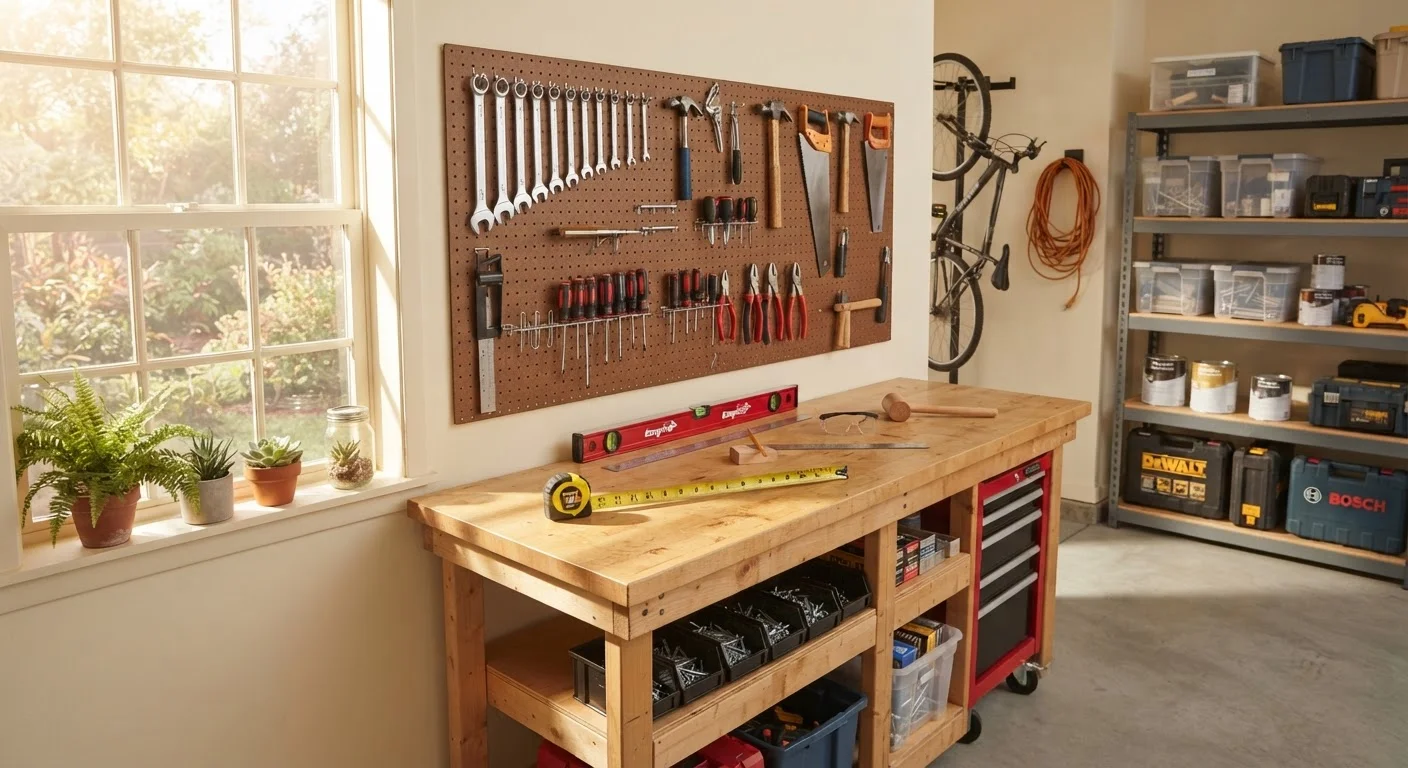
You don't need a contractor's van worth of equipment. A focused starter kit handles the majority of beginner projects without overspending. Prioritize quality on the tools you'll use most often - a well-made tape measure and cordless drill will outlast cheaper versions many times over.
- Measuring and marking: Tape measure (25 ft.), carpenter's pencil, combination square, and a stud finder
- Driving and fastening: Cordless drill/driver with a bit set, hammer, flathead and Phillips screwdrivers in multiple sizes
- Gripping and cutting: Adjustable wrench, needle-nose pliers, locking pliers, utility knife with extra blades
- Leveling: A 4-foot level for larger installs; a torpedo level for smaller jobs
- Safety gear: Safety glasses, work gloves, and ear protection for power tool use
As you complete more projects, you'll naturally discover which specialty tools - a jigsaw, oscillating tool, or pipe wrench - your home actually calls for. Buy tools for real, identified needs rather than speculative ones.
Borrow before you buy
Many specialty tools - tile saws, pipe threaders, floor sanders - are available to rent from hardware stores at a fraction of their purchase price. Before buying a tool you'll use once, check whether your local store offers it as a rental. This keeps costs down and your garage uncluttered.
Knowing When to DIY and When to Call a Pro
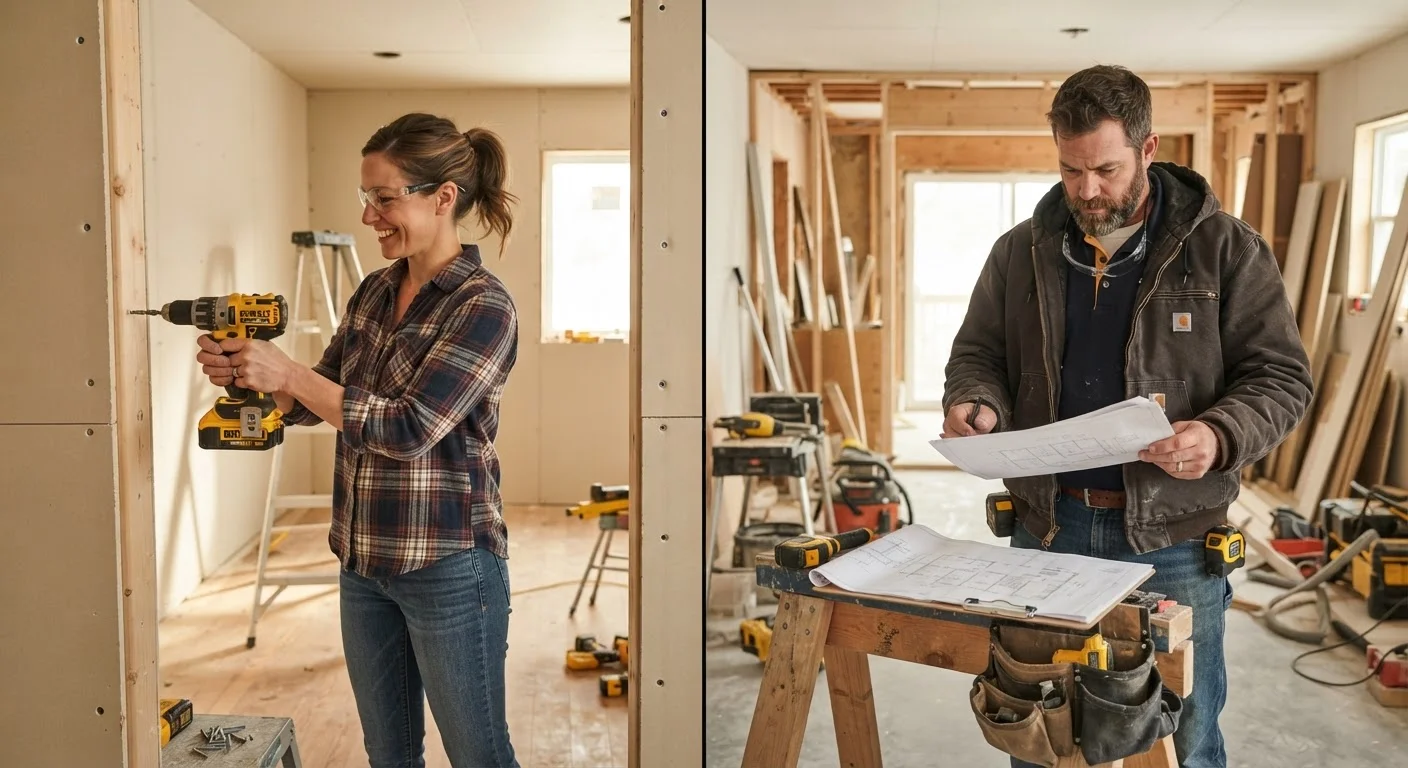
The most consequential skill in home improvement isn't wielding a drill - it's honestly assessing your own limits. Certain categories of work carry risks that extend well beyond a botched paint job: electrical panel upgrades, gas line modifications, load-bearing wall removal, and roofing all fall into territory where amateur errors can endanger lives or cause structural failure.
As a practical rule, ask yourself three questions before starting any project: Could a mistake here injure someone? Does this work require a permit? Is this skill genuinely within my current ability? If the honest answer to any of those is uncertain or yes, get professional input first. A consultation is far less expensive than a remediation.
For tasks that are genuinely within reach - patching drywall, replacing a faucet, installing a ceiling fan where wiring already exists, refinishing wood floors - careful research and preparation make DIY realistic. See our home improvement glossary to get comfortable with the terminology you'll encounter in tutorials and contractor conversations.
Planning and Prioritizing Your First Projects
New homeowners often feel pressure to tackle everything at once. A more sustainable approach is to sort projects into three tiers: urgent maintenance (things that prevent damage or safety hazards), functional improvements (things that make the home work better for daily life), and cosmetic updates (aesthetics you can phase in over time).
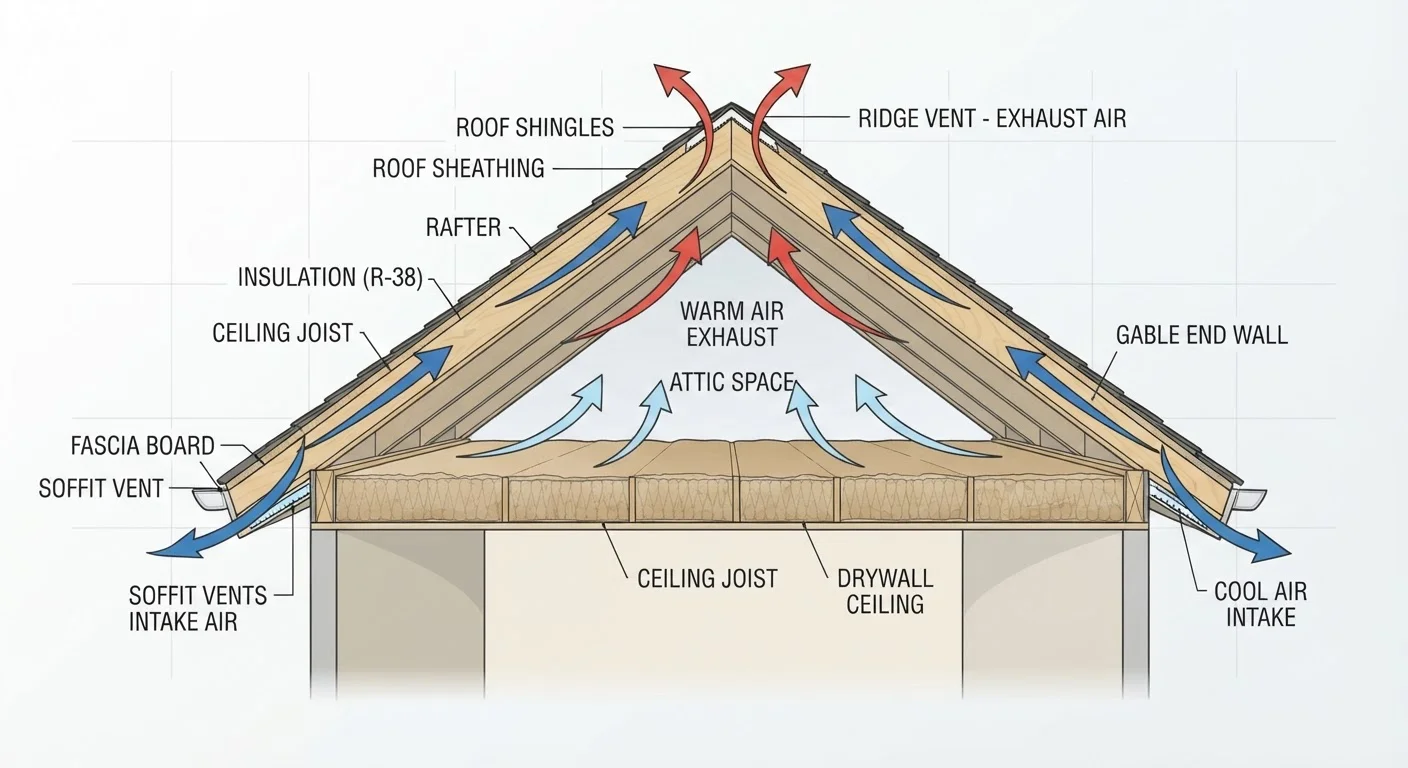
Urgent items - a leaky roof, faulty smoke detectors, compromised weatherproofing - always come first regardless of cost. Functional improvements, like improving insulation or upgrading outdated fixtures, pay dividends in comfort and energy efficiency. Cosmetic projects, while often the most exciting, can be deferred without consequence.
Before beginning any project, write a brief scope document: what you're doing, what materials you need, a realistic time estimate, and your maximum budget. This simple discipline prevents scope creep - the common pattern where a weekend project expands into a month-long undertaking. If your home feels chaotic before renovations even begin, our beginner's decluttering guide can help you establish a clean baseline to work from.
Permits, Codes, and Working Safely
Building codes and permit requirements exist to ensure that construction work meets minimum safety standards - they're not bureaucratic hurdles designed to slow you down. Skipping required permits can lead to fines, forced removal of completed work, difficulty selling your home, and complications with homeowner's insurance claims.
Generally speaking, cosmetic work (painting, replacing fixtures, flooring) doesn't require a permit. Structural changes, new electrical circuits, plumbing reroutes, additions, and decks typically do. Requirements vary meaningfully by municipality, so always verify with your local building department before starting. Our detailed guide on permits, inspections, and codes walks through exactly what to expect from the process.
On the job site, basic habits make a significant difference: keep your workspace tidy, never disable safety guards on power tools, use the right tool for each task, and know where your first aid kit is. When working at height or with unfamiliar materials, take the time to watch experienced demonstrations before attempting the task yourself. Confidence built on good preparation is far more durable - and safer - than confidence built on rushing.
Never skip smoke and CO detector checks
Working smoke detectors and carbon monoxide detectors are among the most critical safety features in any home. Test them monthly, replace batteries at least once a year (or install 10-year sealed-battery models), and replace the entire unit every 10 years or per the manufacturer's guidance. This is not optional maintenance.