
Start With a Plan, Not a Shopping Cart
The biggest mistake homeowners make is choosing finishes before defining a scope of work. A bathroom renovation can mean anything from swapping a vanity to gutting walls and relocating a toilet - and those projects live in completely different budget and complexity categories. Before you visit a showroom or browse tile samples, answer three questions: What problem am I solving? What is my non-negotiable outcome? And how much disruption can I absorb?
Document your answers in a simple scope statement. List every element you intend to change - flooring, fixtures, lighting, ventilation, storage - and separately list the things you are not changing. This scope statement becomes your anchor when decision fatigue sets in mid-project.
If you are new to renovation projects in general, the primer for new homeowners covers foundational concepts that apply well beyond the bathroom. Also bookmark the home improvement glossary - contractor conversations move fast, and knowing the vocabulary saves time and misunderstandings.
Budgeting for a Bathroom Renovation
Bathroom renovation costs vary widely based on bathroom size, existing conditions, material selections, and local labor rates. A cosmetic refresh - new vanity, toilet, and paint - will cost far less than a full gut-and-rebuild that moves plumbing. As a general framework, budget more than you think you need: most renovation professionals suggest setting aside an additional 15-20% of your total estimate as a contingency reserve for surprises behind the walls.
15-20%
Recommended contingency budget buffer
Industry guidance from renovation professionals suggests reserving this percentage above your base estimate for unexpected conditions.
1 CFM/sq ft
Minimum exhaust fan rating guideline
A widely cited ventilation rule of thumb for standard-ceiling bathrooms, helping prevent moisture buildup and mold.
~70%
Average cost recouped on bathroom remodels
Remodeling cost-vs-value analyses have historically shown mid-range bathroom remodels recouping roughly 60-70% at resale, though results vary by market.
Prioritize spending on things that are hard to fix later - waterproofing, subfloor condition, and ventilation - over decorative items that can be upgraded incrementally. A quality exhaust fan, properly sized for the room's square footage, costs relatively little upfront but prevents the mold and moisture damage that leads to expensive repairs.
Be realistic about which tasks you can handle yourself. Painting, installing a mirror, or fitting a new toilet supply line are reasonable DIY tasks for a careful homeowner. Tile installation requires patience and skill; errors compound quickly and can be costly to correct. The renovation myths article is a useful reality check on the assumption that DIY always saves money.
Permits, Codes, and Licensed Trades
Any bathroom work that involves moving or adding plumbing, altering electrical circuits, or making structural changes will almost certainly require a permit in most U.S. jurisdictions. Many homeowners skip this step to save time and fees - but unpermitted work can void homeowner's insurance coverage for related damage, create problems during a home sale, and require costly tear-out if discovered.
Unpermitted Work Has Real Consequences
Plumbing, electrical, and structural bathroom work performed without required permits is not just a procedural oversight - it can create significant legal and financial exposure. Insurance companies may deny claims for damage traced to unpermitted work, and home buyers or their inspectors often flag it during sale. Always pull the required permits and schedule the required inspections before closing walls.
For a thorough breakdown of when permits are required and how the inspection process works, see the article on permits, inspections, and codes. Always verify requirements with your local building department, as rules differ by municipality.
Electrical work in bathrooms is subject to specific code requirements, including GFCI (ground fault circuit interrupter) protection near water sources. This is work for a licensed electrician. Similarly, gas lines and structural modifications require licensed professionals. Hiring qualified tradespeople is not just about quality - it is about safety and legal compliance.
Demolition and Waterproofing
Once permits are in hand and your contractor lineup is confirmed, demolition begins. In bathrooms, demo frequently reveals hidden problems: rot in the subfloor beneath an old toilet flange, mold behind poorly sealed tub surrounds, or outdated galvanized plumbing. Budget time and money for these discoveries - they are more common than not in bathrooms older than 20 years.
Waterproofing is the step that separates a bathroom that lasts from one that fails. Behind every tiled shower or tub surround, a continuous waterproof membrane must be installed before any tile goes up. The membrane - whether a sheet-applied product, liquid-applied coating, or foam backer board system - is what keeps moisture from reaching the structural framing. No amount of grout sealer compensates for missing or inadequate waterproofing underneath.
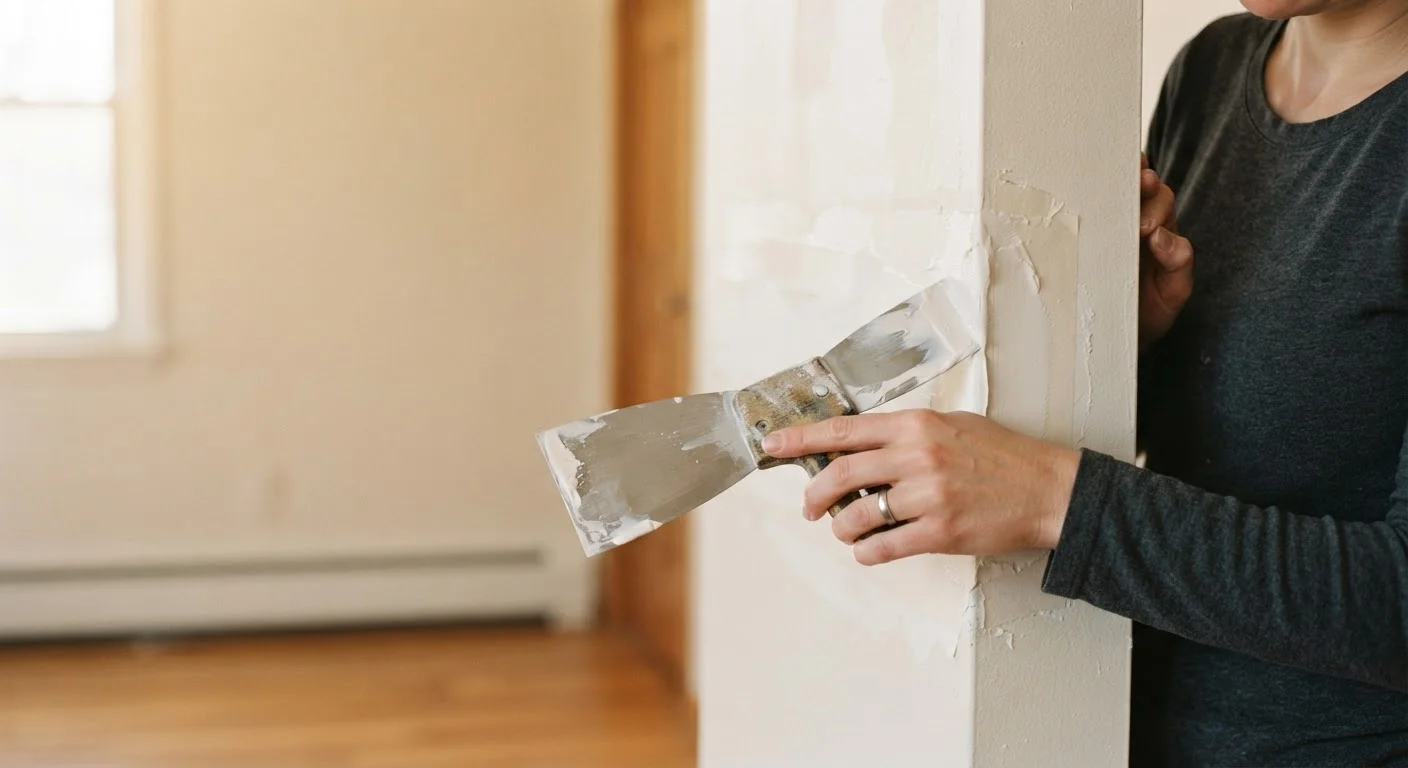
If your demo uncovered drywall damage in adjacent areas, the drywall repair guide walks through patching techniques for holes and damaged sections before you close the walls.
Tile, Fixtures, and Finishing
Tile selection affects not just appearance but maintenance and longevity. Larger format tiles (12×24 inches and up) have fewer grout lines, which can mean easier cleaning - but they require a very flat substrate and skilled installation. Small mosaic tiles suit curved surfaces and shower floors, where smaller pieces conform better to the slope toward the drain. Porcelain is denser and more water-resistant than ceramic, making it the preferred choice for floors and shower walls.
Order at least 10-15% more tile than your square footage calculation to account for cuts, breakage, and future repairs. Tile from the same production run matches in color and texture; a later dye lot may not.
Color variation between tile lots is a common post-installation frustration. Having surplus from the original batch makes future repairs seamless.
Before setting any tile, do a full dry layout on the floor to visualize grout line placement and identify awkward cuts near doorways or focal points. Adjust your starting point before committing to thin-set.
Experienced tile setters routinely dry-lay to catch layout problems that are invisible on paper - saving material and preventing the need to re-work sections.
Grout color is a practical decision as well as an aesthetic one. Light grout shows staining more readily; dark grout can fade unevenly over time. An epoxy grout - more resistant to staining and moisture than cement-based grout - is worth considering in high-traffic showers, though it requires more precise application.
When selecting fixtures, focus on the rough-in dimensions before the finish. A toilet's rough-in measurement (the distance from the finished wall to the center of the drain) must match your existing plumbing or require adjustment. Vanity depth should allow comfortable use without crowding the door swing. Once functional fit is confirmed, finish selection - matte black, brushed nickel, chrome - is largely personal preference, though matching finishes across fixtures creates a more cohesive result.
Common Mistakes to Avoid
Even well-intentioned renovations go sideways for predictable reasons. Here are the pitfalls worth knowing before you start:
- Underestimating ventilation: An exhaust fan rated too low for the room's volume allows humidity to build, encouraging mold and paint failure. Match the fan's CFM (cubic feet per minute) rating to your bathroom's square footage - a general rule is 1 CFM per square foot for standard ceiling heights.
- Choosing tile before confirming layout: Tile layout affects how much material you need and where cuts fall. A layout that centers tiles visually often requires more cuts and more waste. Plan the layout on paper or with a contractor before ordering.
- Skipping the slope on shower floors: A shower floor must slope toward the drain at roughly 1/4 inch per foot. Without proper slope, water pools and accelerates grout and caulk deterioration.
- Mixing grout and caulk incorrectly: Corners and changes in plane - where the floor meets the wall, or the wall meets a curb - should be caulked, not grouted. Grout cracks in these joints because the planes move independently; caulk accommodates that movement.
- Finishing the room before fixing storage: Think through storage before walls are closed. Recessed niches in shower walls, medicine cabinet rough-ins, and blocking for future grab bars are all far easier to add before tile goes up.
For a broader look at renovation assumptions that often backfire, the home renovation myths article is worth reading before finalizing your plan.