What You Need Before You Start
Drywall repair is one of the most approachable home improvement skills to develop. Unlike projects that require specialized trade knowledge, most drywall patches follow a predictable process once you understand the materials involved. If you're new to home improvement projects in general, the primer for new homeowners is a helpful foundation before you pick up a putty knife.
Gather your tools and materials before starting - mid-project hardware store runs are one of the biggest time-wasters in DIY work.
Putty knife or drywall knife (6-inch)
Applies and feathers joint compound smoothly over patches of most sizes.
12-inch drywall taping knife
Used for wide feathering passes on larger repairs to blend compound into the surrounding wall.
Sanding block and 120/220-grit sandpaper
Smooths dried compound between coats and before priming to produce a flat, paintable surface.
Self-adhesive fiberglass mesh patch
Bridges medium-sized holes (1-6 inches) without requiring a backing board.
Drywall saw or utility knife
Cuts damaged drywall cleanly when removing a section for a larger patch.
1×3 or 1×4 lumber backing board
Provides structural support behind large cut-out patches when there is no stud available.
Drywall screws and a drill or screwdriver
Secures backing boards and replacement drywall pieces firmly in place.
Primer and matching paint
Seals the repaired area and restores the wall's finished appearance after compound is dry.
What you will need
Step-by-Step: How to Repair Drywall
Follow these steps in order. The most important rule in drywall repair is patience - the compound must be fully dry at each stage before you continue. A repair done over three days looks far better than one rushed through in an afternoon.
Assess the damage and choose your method
Size determines strategy. Nail holes and small dents under ½ inch can be filled directly with lightweight spackling paste. Holes between ½ inch and 6 inches work well with a self-adhesive mesh patch and joint compound. Holes larger than 6 inches - or sections with significant crumbling or water damage - require cutting out the damaged area and installing a proper backing board with a new drywall piece.
If the damage includes discoloration or softness, water intrusion may be the cause. Address the moisture source before repairing the drywall, or the problem will return.
Prepare the damaged area
Use a utility knife or putty knife to remove any loose drywall paper, crumbled gypsum (the powdery white core of drywall), or protruding nails or screws. For larger repairs, score and cut back to clean, solid material. Edges should be firm and not flaking. Wipe the area with a slightly damp cloth and allow it to dry completely before applying any compound.
Install backing support for larger holes
For holes larger than 6 inches with no nearby stud behind them, cut a piece of 1×3 or 1×4 lumber slightly longer than the height of the opening. Slide it behind the wall and hold it against the back of the drywall on each side of the hole. Drive drywall screws through the existing wall surface and into the board - two screws per side - to hold it firmly in place. This gives the new drywall piece something solid to fasten to.
Cut a replacement piece of drywall (matching the original thickness, typically ½ inch) to fit the opening. Screw it into the backing board, keeping screw heads just slightly below the surface without tearing the paper facing.
Apply mesh tape and joint compound
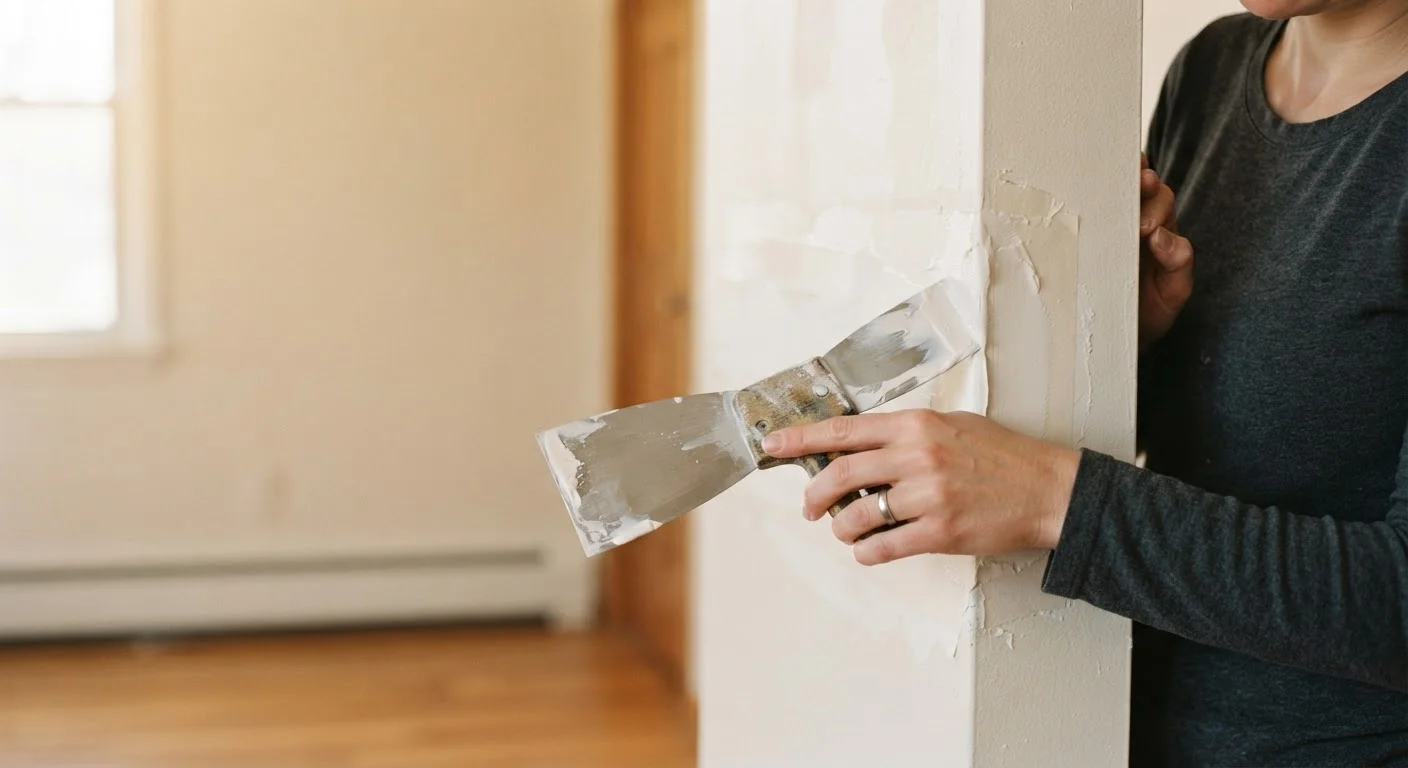
For medium holes, press a self-adhesive fiberglass mesh patch firmly over the opening. For cut-out sections, apply paper drywall tape along all seams between the new piece and the existing wall. Apply a first, thin coat of all-purpose joint compound over the tape or patch using your 6-inch knife, then feather the edges outward with the 12-inch knife. Let it dry completely - this typically takes 24 hours depending on humidity and room temperature. Sand lightly between coats with 120-grit paper on a sanding block. Apply a second and, if needed, third coat, extending the feathering zone a few inches wider with each pass.
Sand smooth and match the texture
Once the final coat is fully dry, sand with 120-grit paper until the repair is flush, then finish with 220-grit for a fine, smooth surface. Wipe away all dust with a barely damp cloth. Now address texture. If your wall has a smooth finish, the sanded compound is ready for primer. For textured walls - orange peel, knockdown, or skip-trowel - apply the appropriate technique with a light coat of compound before it fully dries, or use a spray texture product available at most hardware stores. Practice the texture on a piece of cardboard first to match the surrounding wall as closely as possible.
Prime and paint
Apply a coat of drywall primer (also called PVA primer) to the repaired area before painting. This step is frequently skipped but is critical - bare joint compound is highly porous and will absorb paint unevenly, leaving a dull, flat spot called 'flashing' even after multiple coats of paint. Once the primer is dry, apply your finish paint to match the surrounding wall. You may need to paint the entire wall panel to achieve a seamless color match, especially if the existing paint has aged.
Texture Matching Takes Practice
Don't expect to nail the texture match on your first attempt. Before applying texture to the actual repair, experiment on a scrap piece of drywall or cardboard using the same tool and technique. Orange peel texture, for instance, is typically applied with a spray can held at a specific distance - angle and distance both affect the pattern size. Matching your wall's existing pattern closely is what separates a professional-looking finish from an obvious patch.
If your repair is part of a larger bathroom or kitchen renovation, our complete bathroom renovation guide covers how drywall and substrate work fits into the broader scope of a full room remodel.
Common Pitfalls and How to Avoid Them
Even experienced DIYers run into a few predictable problems with drywall repair. Here's what to watch for:
- Using too much compound at once: Thick applications shrink more as they dry and are more likely to crack. Thin, multiple coats are always better than one heavy coat.
- Skipping primer: Painting directly over joint compound is one of the most common reasons a repair remains visible. Prime every time.
- Ignoring texture: A perfectly smooth patch on a textured wall will stand out under any light. Take time to replicate the texture - it's the difference between a hidden repair and an obvious one.
- Over-sanding: Sanding too aggressively can cut through the paper facing on the surrounding drywall, creating a fuzzy surface that won't accept paint cleanly.
For a handy reference on construction terms you'll encounter throughout this and similar projects, the home improvement glossary is a useful bookmark.
Water Damage Requires Extra Caution
If the damaged drywall shows brown staining, a musty odor, or a soft, crumbling texture, water infiltration is likely the underlying cause. Repairing the surface without addressing the moisture source will result in recurring damage - and can lead to mold growth behind the wall. Identify and fix the leak or condensation problem first, allow the area to dry thoroughly, and treat any mold-affected material according to current safety guidelines before closing the wall. When in doubt, consult a licensed contractor.