Why Caulk Fails More Often Than It Should
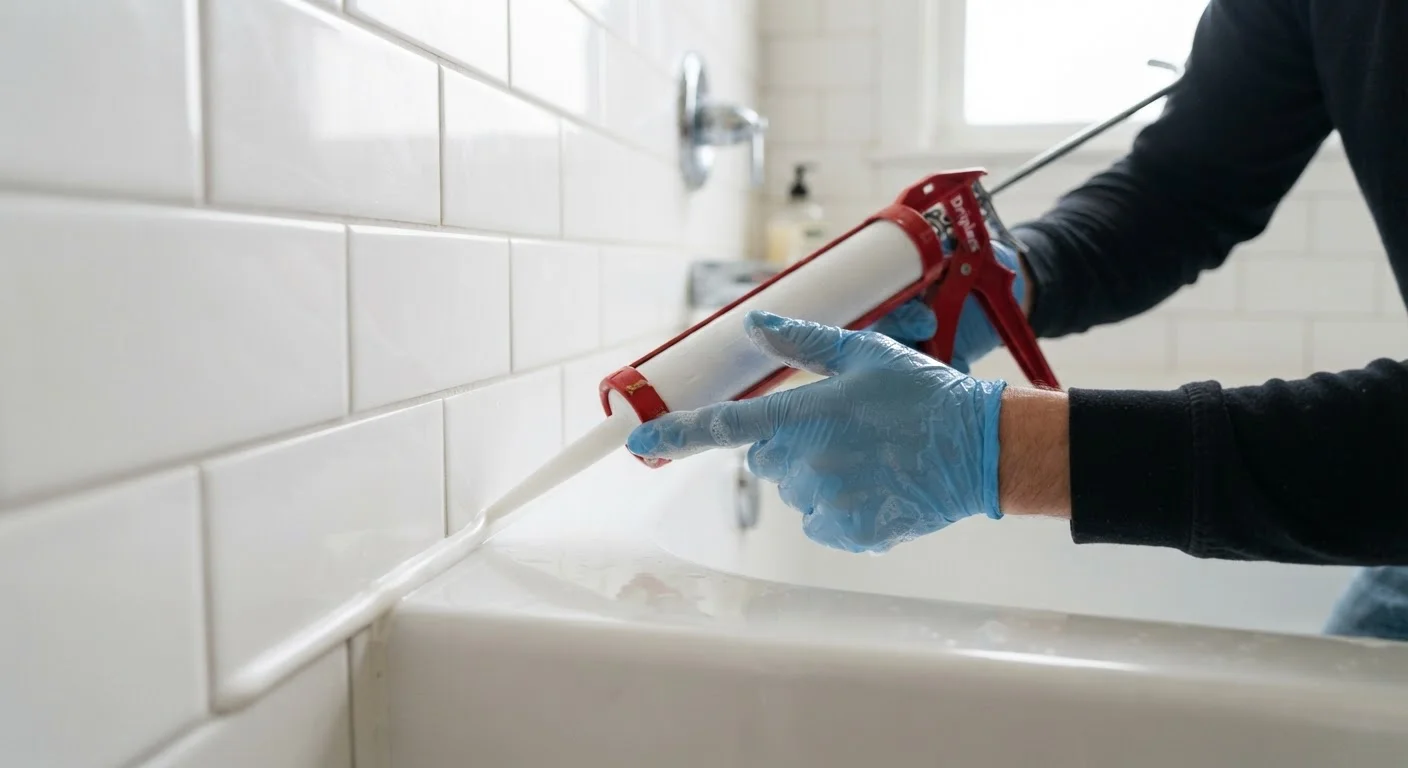
Few home repair frustrations compare to watching caulk you applied just weeks ago already cracking, peeling, or turning moldy. The natural assumption is that you bought an inferior product - but in most cases, the caulk itself isn't the problem. Technique and preparation almost always determine whether a caulk job lasts one season or a decade.
Caulk serves a specific purpose: it seals gaps between surfaces that expand, contract, or shift slightly with temperature, humidity, and structural movement. When it fails early, it's usually because something about the application worked against that core function. Understanding the most common mistakes helps you avoid repeating them - and gives you a far better outcome the next time.
Skipping surface preparation before applying new caulk.
Why it happens: Homeowners often want to apply caulk quickly and assume a relatively clean surface is good enough.
Applying caulk over existing caulk layers.
Why it happens: It looks easier to add a fresh bead on top of an old one rather than remove the old material entirely.
Failing to tool or smooth the bead after application.
Why it happens: Many people assume the bead looks fine straight from the tube and don't realize tooling improves adhesion, not just appearance.
Using the wrong caulk type for the location.
Why it happens: Shoppers often grab whatever is labeled 'caulk' without matching the formula to the specific use - wet area, exterior, or paintable interior.
Exposing freshly applied caulk to water before it cures.
Why it happens: Homeowners confuse 'dry to the touch' with fully cured, and use the shower or sink before the seal has properly set.
Setting Yourself Up for a Lasting Seal
Once you understand what causes caulk to fail, the path to a durable seal becomes straightforward. Start with a clean, dry, fully prepped surface - this single step accounts for more successful caulk jobs than any other factor. Allow adequate drying and curing time before exposing the joint to moisture or stress.
Never Caulk a Wet or Damp Surface
Even a slightly damp joint will prevent caulk from bonding correctly, leading to peeling within weeks. In bathrooms especially, run a fan and wait a full day after cleaning before you begin. If you're recaulking a shower, stop using it for at least 24 hours beforehand to allow the grout and tile substrate to dry out completely.
The right caulk type also matters. Silicone caulks resist moisture and movement well, making them a strong choice for tub and shower surrounds, sinks, and exterior window edges. Latex or acrylic caulks are easier to tool and paint, making them better suited for interior trim, baseboards, and crown molding. Hybrid formulas combine properties of both - always check the product label for the recommended application.
If you're tackling other bathroom or kitchen projects alongside caulking, keep in mind that similar prep-and-patience principles apply to adjacent tilework. The common tile installation mistakes article covers the surface and adhesion errors that echo many of the problems seen with caulk.
With the right preparation, the correct product, and a patient approach to application, caulk is one of the most accessible and satisfying home improvement tasks a homeowner can handle confidently on their own.
24-72 hrs
Typical caulk full cure time
Most manufacturer guidelines recommend waiting at least 24 hours - and up to 72 hours in humid conditions - before exposing a freshly caulked joint to water.
#1
Cause of early caulk failure
Surface preparation - specifically failing to remove old caulk and fully dry the joint - is consistently cited by professional contractors as the leading cause of premature caulk failure.