
Why Tile Projects Trip Up First-Timers
Tile installation looks more forgiving than it is. The materials are sturdy, the process appears straightforward, and the finished result can genuinely transform a bathroom or kitchen. But tile work punishes shortcuts in ways that other home improvement projects don't - and many of the mistakes that cause failures happen before a single tile is pressed into place.
Understanding what goes wrong - and why - is more useful than any list of tips. Most tile failures trace back to a handful of predictable errors: inadequate prep, wrong materials, poor planning, and impatience. The good news is that all of them are preventable. For a broader foundation before taking on your first tile project, this primer for new homeowners covers the basics of approaching any home improvement task with the right mindset and tools.
Skipping substrate preparation and assuming any surface is ready to tile.
Why it happens: First-timers often focus on the visible work - the tile itself - and overlook what's underneath. A wall that looks flat or a floor that seems solid can still have movement, moisture, or contamination that prevents adhesion.
Using the wrong type of mortar or adhesive for the tile material and location.
Why it happens: Hardware store shelves offer many products with similar-looking packaging. It's easy to grab whatever seems standard, not realizing that large-format tiles, natural stone, and wet areas each call for specific formulations.
Skipping the layout planning step and starting to set tile from a wall or corner.
Why it happens: Corners feel like a logical starting point, but rooms are rarely perfectly square. Starting from a wall almost guarantees uneven cuts at the opposite, often more visible, edge.
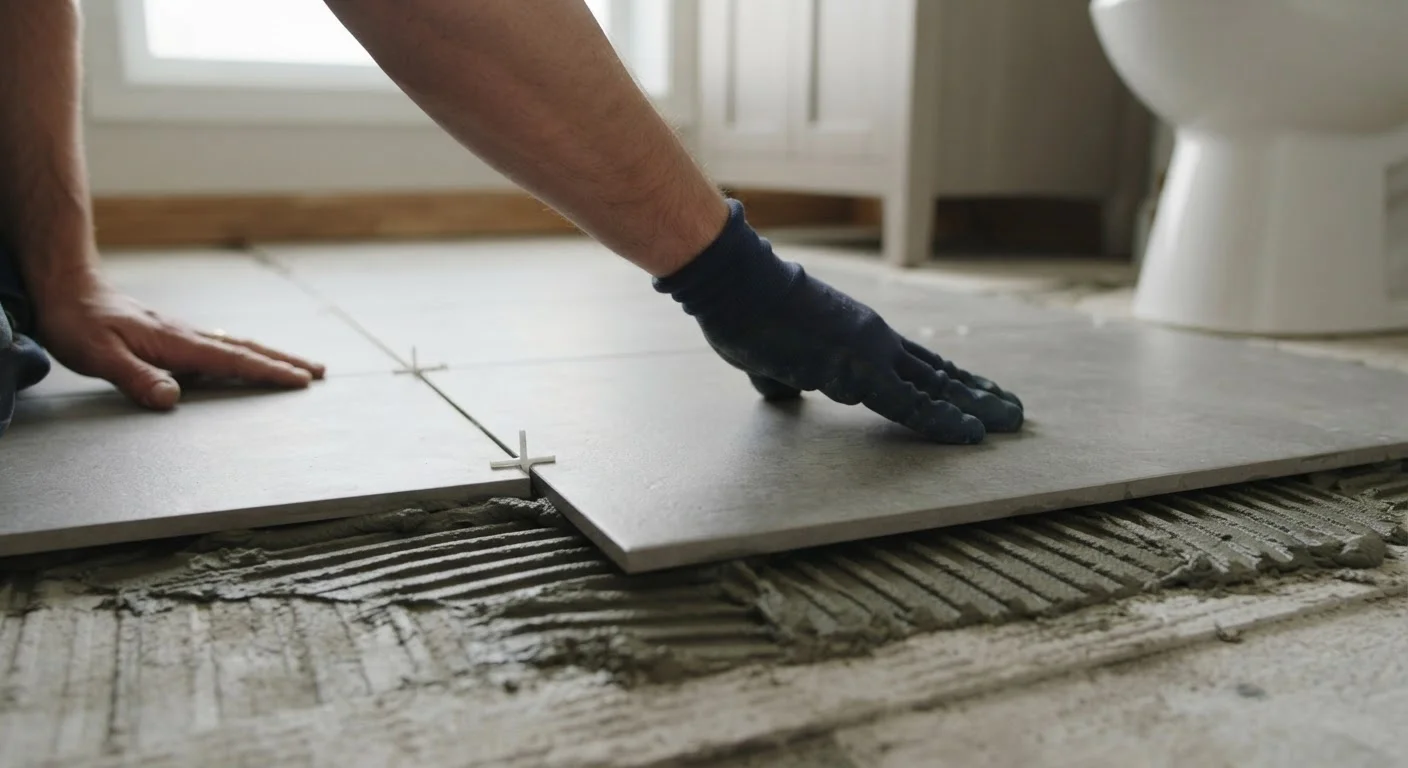
Applying mortar too far in advance, letting it skin over before tiles are set.
Why it happens: New DIYers often spread more mortar than they can tile in time, especially when learning the rhythm of the work. Once the surface of the mortar dries out - called 'skinning' - it loses its grip.
Rushing grouting before mortar has fully cured.
Why it happens: Once tiles are set and look solid, the urge to finish the project leads many first-timers to grout too soon. Walking on tiles or grouting before the mortar cures can shift tiles and weaken the bond.
Forgetting to seal grout and, where required, the tile surface itself.
Why it happens: Sealing feels like a finishing formality, and many first-timers don't realize that unsealed grout absorbs stains and moisture almost immediately. In wet areas, this can contribute to mold growth within the grout lines.
The Details That Make or Break a Tile Job
Beyond the individual mistakes above, there's a pattern worth recognizing: tile installation is a sequenced process, and each step depends on the one before it. A surface that wasn't properly prepped will compromise even perfect tile-setting technique. Mortar that was rushed will undermine the most precise layout. This is why experienced tilers emphasize preparation over speed.
Don't Skip the Layout Dry-Run
Laying out tiles on the floor without adhesive first - called a 'dry lay' - takes extra time, but skipping it is one of the most regretted shortcuts among first-timers. Without a dry run, you risk ending up with slivers of tile at the most visible edges, like a doorway or a focal wall. Even an hour of planning here can save you from tearing out a full day's work.
Sealing is another area where the finish line feels closer than it is. Similar principles apply to caulking - another finishing step where skipping details causes long-term problems. In both cases, what looks complete on the surface may still be vulnerable.
If your project is in a bathroom or kitchen, also plan for the transition between tiled and non-tiled surfaces. Caulk - not grout - belongs in inside corners and where tile meets a tub or floor, because those joints need flexibility. Grouting those joints is a common misstep that leads to cracking as the structure moves slightly with temperature and use. For more on avoiding common assumptions that can cost real time and money, see these renovation myths examined.
~10%
Extra tile to order for cuts and waste
Tile industry guidelines generally recommend ordering 10% more tile than your measured square footage to account for cuts, breakage, and future repairs.
24-48 hrs
Minimum mortar cure before grouting
Most thin-set mortar manufacturers specify waiting at least 24 to 48 hours before applying grout, though thicker applications or humid conditions may require longer.
Tile installation rewards patience and methodical thinking over speed. The errors that send first-timers back to square one almost always involve cutting corners on preparation or drying time - not any failure of skill. Take the time to do each step completely, and the finished work will hold up for decades.