Why Composting Is Worth Your Time
Composting is one of the most practical habits a home gardener can develop. Rather than sending vegetable peels, coffee grounds, and yard trimmings to the landfill, you redirect them into a process that produces dark, crumbly, nutrient-rich organic matter - commonly called humus - that your garden soil genuinely benefits from.
Healthy compost improves soil in multiple ways: it loosens compacted clay, helps sandy soil retain moisture, feeds beneficial microorganisms, and slowly releases nutrients that support plant growth. If you're starting a vegetable garden this season, working finished compost into your beds before planting is one of the most effective preparation steps you can take.
The process itself is forgiving. Nature does most of the work - your job is to provide the right conditions and check in periodically. This guide walks you through setting up a pile, feeding it correctly, and knowing when your compost is ready to use.
What you will need
What Goes In (and What Stays Out)
Successful composting depends on balancing two categories of materials, often called greens and browns. Greens are nitrogen-rich: fruit and vegetable scraps, coffee grounds and paper filters, tea bags (remove staples), fresh grass clippings, and plant trimmings. Browns are carbon-rich: dry leaves, cardboard torn into small pieces, newspaper, paper bags, straw, and wood chips.
A rough target ratio is about 3 parts browns to 1 part greens by volume. Too many greens and your pile becomes slimy and smells unpleasant. Too many browns and decomposition stalls. Don't worry about measuring precisely - experienced composters eyeball it and adjust based on how the pile looks and smells.
Avoid These Materials in Your Pile
Never add meat, fish, bones, dairy, greasy foods, or pet waste to a backyard compost pile. These materials attract rodents and other wildlife, create serious odor problems, and may introduce pathogens that typical home piles cannot safely break down. Stick to plant-based kitchen scraps and yard waste for a trouble-free pile.
A few materials should always stay out of your home compost pile: meat, fish, bones, dairy products, greasy or oily foods, pet waste, and diseased plants. These either attract pests, create odor problems, or introduce pathogens that a backyard pile may not reliably destroy. Treated wood products and glossy paper should also be avoided.
Eggshells are a common point of confusion - they're fine to add and contribute calcium, though they break down slowly. Citrus peels and onion scraps, despite some folk advice to avoid them, are generally safe in moderate amounts.
Setting Up and Maintaining Your Pile
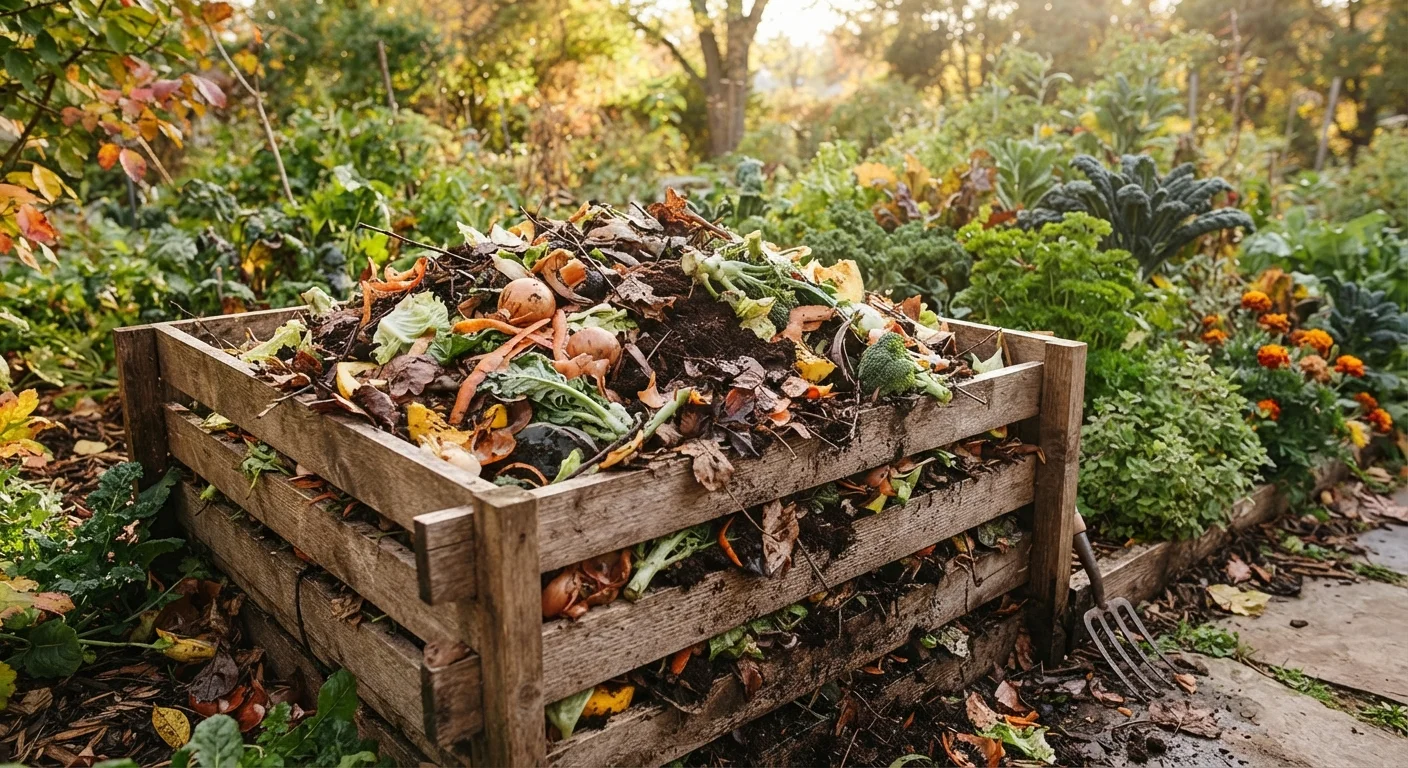
You don't need expensive equipment to compost. A simple three-sided enclosure made from pallets or wire fencing works well, as does a purpose-made plastic bin or tumbler. Choose a location with partial shade and some access to the ground so beneficial organisms can migrate in naturally. A spot close enough to the kitchen to make daily trips convenient will help you stay consistent.
Compost bin or tumbler
Contains materials, retains heat, and keeps pests out more effectively than an open pile.
Pitchfork or garden fork
Used to turn and aerate the pile, which speeds up decomposition.
Kitchen scrap container with lid
Collects daily food scraps on the counter so you make fewer trips outside.
Garden hose or watering can
Used to add moisture when the pile dries out during warm or dry weather.
Once your bin is in place, start with a 4-6 inch base layer of coarse browns - wood chips or small sticks work well - to encourage airflow at the bottom. Then alternate green and brown layers as materials become available. There's no need to add them in perfectly distinct layers; mixing as you go is fine.
Moisture and aeration are the two variables that most influence decomposition speed. Your pile should feel about as damp as a wrung-out sponge. If it dries out, add water and mix. If it's soggy and smells like ammonia or rotten eggs, add browns and turn it to introduce air. Turning the pile - using a pitchfork to move outer material to the center - every one to two weeks significantly speeds up the process. A pile that is actively managed can produce finished compost in as little as two to three months. A neglected pile will still break down, just more slowly, often over a year or more.
Finished compost is dark brown, crumbly, and smells like rich forest soil. You can use it as a soil amendment worked into garden beds before planting, as a topdressing around established plants, or mixed with potting mix for containers. It pairs especially well with a layer of mulch applied over the soil surface to lock in moisture and suppress weeds.
Compost Works in Every Season
Decomposition slows in cold weather but doesn't stop entirely. In winter, insulate your pile with a thick layer of straw or dry leaves to retain heat longer. You can also keep collecting kitchen scraps indoors in a sealed bucket and add them to the pile when temperatures rise. Spring will often reveal that your pile made more progress over winter than expected.