What Overseeding Actually Does - and Doesn't Do
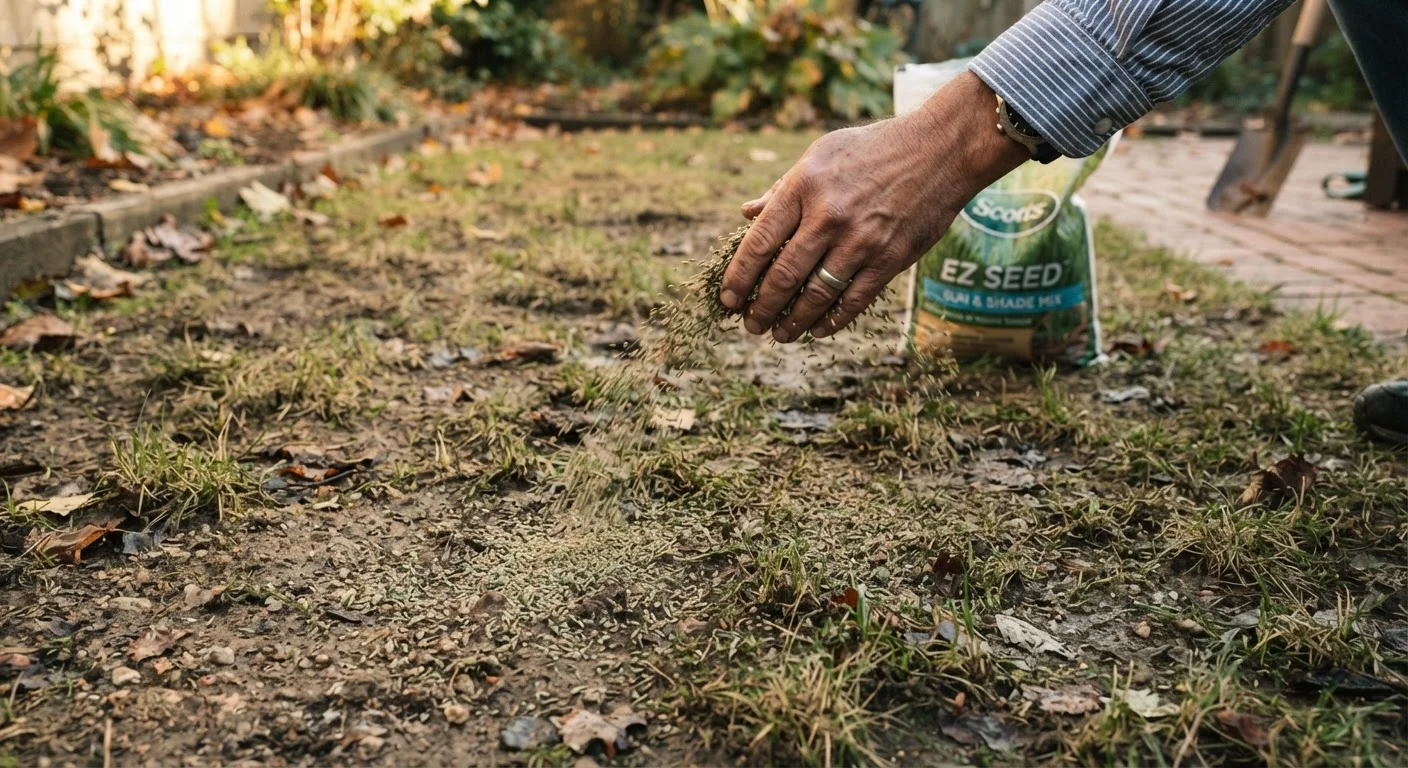
Overseeding means spreading grass seed directly over an existing lawn without tearing it up first. The goal is to thicken sparse areas, fill in bare patches, and improve overall density over time. It's one of the most practical lawn care strategies available to homeowners - but it comes with realistic limits.
Overseeding will not rescue a lawn that has a serious underlying problem. If your grass is thin because of heavy shade, poor drainage, soil compaction, or recurring pest damage, seeding over those conditions will produce limited results. Address the root cause first. In areas where turf simply won't thrive, alternatives like durable ground cover plants may be worth considering instead.
When conditions are right - appropriate timing, matched seed variety, and proper soil prep - overseeding can meaningfully improve a thin lawn within one to two growing seasons. It won't produce overnight transformation, and first-year results are often modest. Managing expectations is part of success.
Don't Overseed Right After Herbicide Use
Pre-emergent herbicides - commonly applied in spring to block crabgrass - also prevent grass seed from germinating. If you've used a pre-emergent in the past 8-12 weeks, overseeding will likely fail. Check product labels for specific waiting periods before seeding.
Tools and Materials You'll Need
Before you begin, gather the right equipment. Improvising with the wrong tools - using a hand-broadcast instead of a calibrated spreader, or skipping aeration - reduces your results significantly. Most equipment not already in your garage can be rented affordably.
What you will need
Core Aerator
Pulls small plugs of soil to relieve compaction and create seed-to-soil contact.
Broadcast Spreader
Distributes grass seed evenly across the lawn at a calibrated rate.
Lawn Mower with Bag Attachment
Cuts grass short and collects clippings before overseeding to reduce competition.
Rake (dethatching or leaf)
Removes thatch and loosens the surface so seed can reach soil.
Starter Fertilizer
Provides phosphorus and other nutrients that support root development in new seedlings.
Straw Mulch or Erosion Blanket
Protects seed on slopes or in areas prone to washout while retaining surface moisture.
Step-by-Step: How to Overseed Your Lawn
Choose the Right Time to Overseed
Timing is the single biggest factor that homeowners underestimate. For cool-season grasses - Kentucky bluegrass, tall fescue, perennial ryegrass - the ideal window is late summer to early fall (roughly late August through mid-October in most of the U.S.). Soil is still warm enough to support germination, but air temperatures are dropping, which suits these grasses' natural growth pattern.
For warm-season grasses - Bermuda, zoysia, centipede - overseed in late spring when soil temperatures reach at least 65-70°F consistently. Seeding too early or too late means poor germination rates regardless of how well you prepare.
Mow Short and Remove Debris
Mow your existing lawn to about 1.5-2 inches - shorter than your normal mowing height. Use a bag attachment or rake clippings away completely. Excess thatch (the layer of dead grass and organic matter above the soil) blocks seed from reaching soil and reduces germination. If your thatch layer is thicker than half an inch, use a dethatching rake or rent a power dethatcher before proceeding.
Aerate the Soil
Core aeration - the process of pulling small cylindrical plugs from the soil - is the most important prep step and the one most commonly skipped. Aeration relieves compaction, improves water infiltration, and creates small pockets where seed can make direct contact with soil. Rent a walk-behind core aerator from an equipment rental store. Make two passes in perpendicular directions for best results. Leave the soil cores on the surface; they'll break down naturally within a week or two and return organic matter to the lawn.
Select and Apply the Right Seed
Match your seed to your existing grass type and your region's climate. Mixing incompatible varieties creates an uneven, patchwork appearance that's difficult to correct. Seed bags list the grass species and often include a recommended seeding rate per 1,000 square feet - follow it. Using more seed than recommended doesn't improve results and creates overcrowding that weakens germination.
Use a broadcast spreader for open areas and a drop spreader for edges or tight spaces. Make two light passes in perpendicular directions for even coverage. Rake the area lightly after spreading to help seed settle into aeration holes and surface contact points.
Apply Starter Fertilizer
New seedlings need phosphorus to develop strong roots. Apply a starter fertilizer (one with a higher middle number in the N-P-K ratio, such as 10-18-10) according to package directions immediately after seeding. Avoid applying a standard lawn fertilizer, which is nitrogen-heavy and can burn tender new grass. For a deeper understanding of fertilizer numbers, see what N-P-K means for your lawn.
Water Consistently Through Germination
Keep the top quarter-inch of soil moist at all times until seedlings emerge and reach about one inch in height. This typically means light watering two to three times daily, depending on temperature and sun exposure. Avoid heavy watering that causes runoff or puddles, which can displace seed. Once seedlings are established, gradually shift to deeper, less frequent irrigation to encourage deeper root growth.
[tip_callout]Delay Mowing and Heavy Traffic
Wait until new grass reaches at least 3-3.5 inches before mowing for the first time, and never remove more than one-third of the blade height in a single mow. Keep foot traffic to a minimum for the first four to six weeks. New seedlings have shallow, fragile root systems and are easily dislodged or damaged before they're established.
What to Expect After Overseeding
Most cool-season grass seed germinates within 7-21 days under good conditions. Warm-season varieties often take longer. You'll likely see uneven germination at first - some areas filling in before others. This is normal. Resist the urge to reseed immediately; give the process at least three to four weeks before evaluating gaps.
Full lawn density from a single overseeding typically takes one full growing season, sometimes two. Factors like shade, soil quality, and weather all affect the pace. Plan to overseed annually or every other year if your lawn is prone to thinning. Over time, consistent overseeding - paired with proper mowing, watering, and fertilizing - produces the kind of durable, dense turf that's harder to lose in the first place.
If you're also rethinking how you use your outdoor space more broadly, our guide on raised beds vs. in-ground planting covers how to weigh other yard layout decisions alongside your lawn care goals.